
I was so excited at the opportunity to make my cousin a t-shirt quilt for her graduation party. My aunt asked me if I’d be interested in making one for her, I jumped right on that opportunity! I have a couple friends that I’ve met online that have made t-shirts quilts and I really wanted to get started on making them! The ones I’ve seem are amazing and it’s such a great way to remember the things you’ve done while growing up and before you head off to college. Of course you can use these for other reasons too! You can have a bunch of sports jerseys made into a memory quilt so you can remember all the sports you played growing up also.
These quilts take a long time to create, it’s a process to get everything ready and ironed and quilted and binding finished. I decided I wanted to show all the steps along the way!
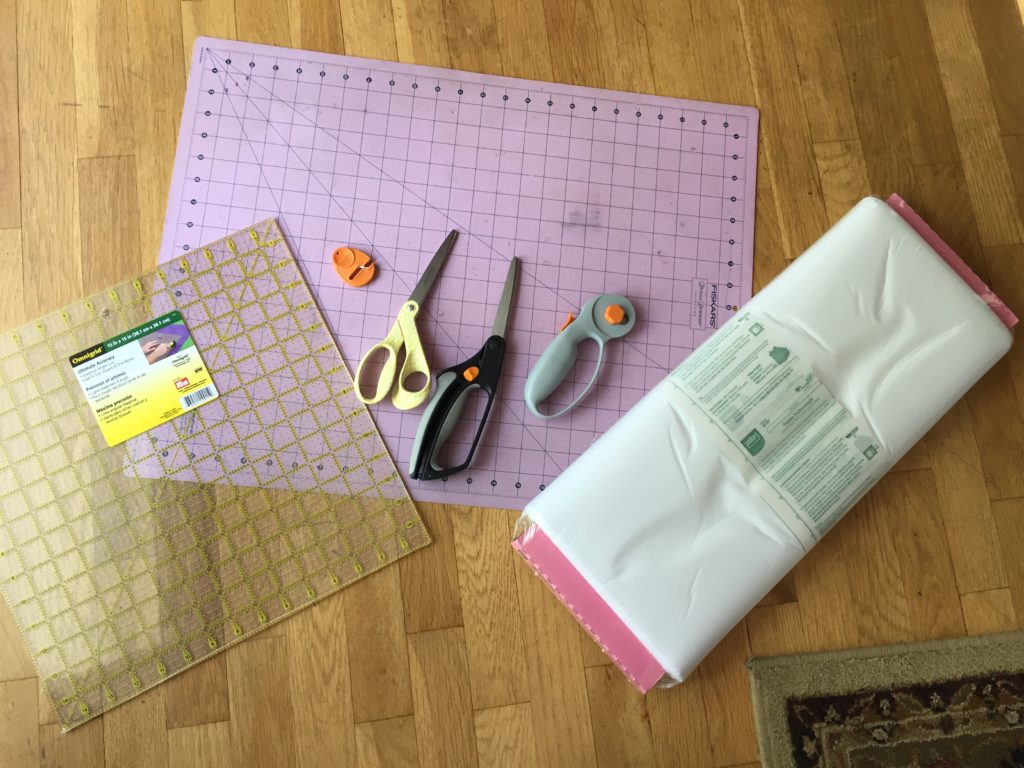
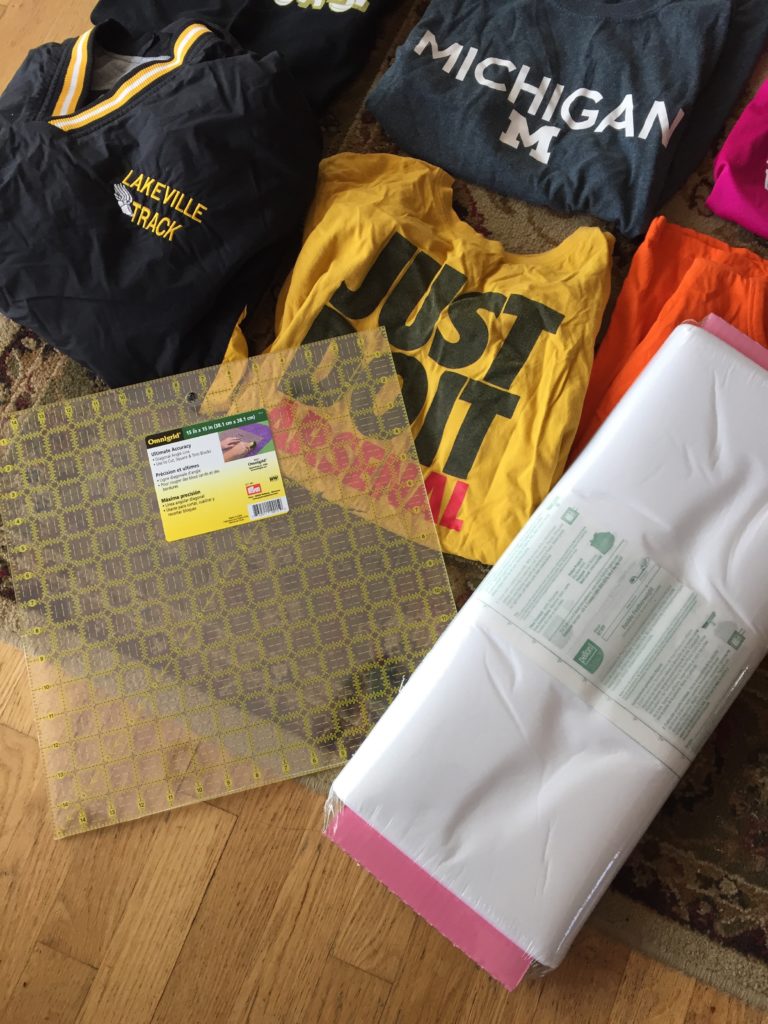
TOOLS:
Rotary Cutter
Cutting Mat
Scissors
15″ Quilting Square
Iron-on Interfacing
T-shirts
Cotton quilting fabric
So the first step was for me to take a day off my regular job so I could just focus and get the whole quilt front completed in a day! I wanted to make sure it went smoothly so I was excited to just do what I love all day…..SEW!!!
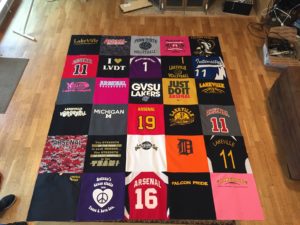
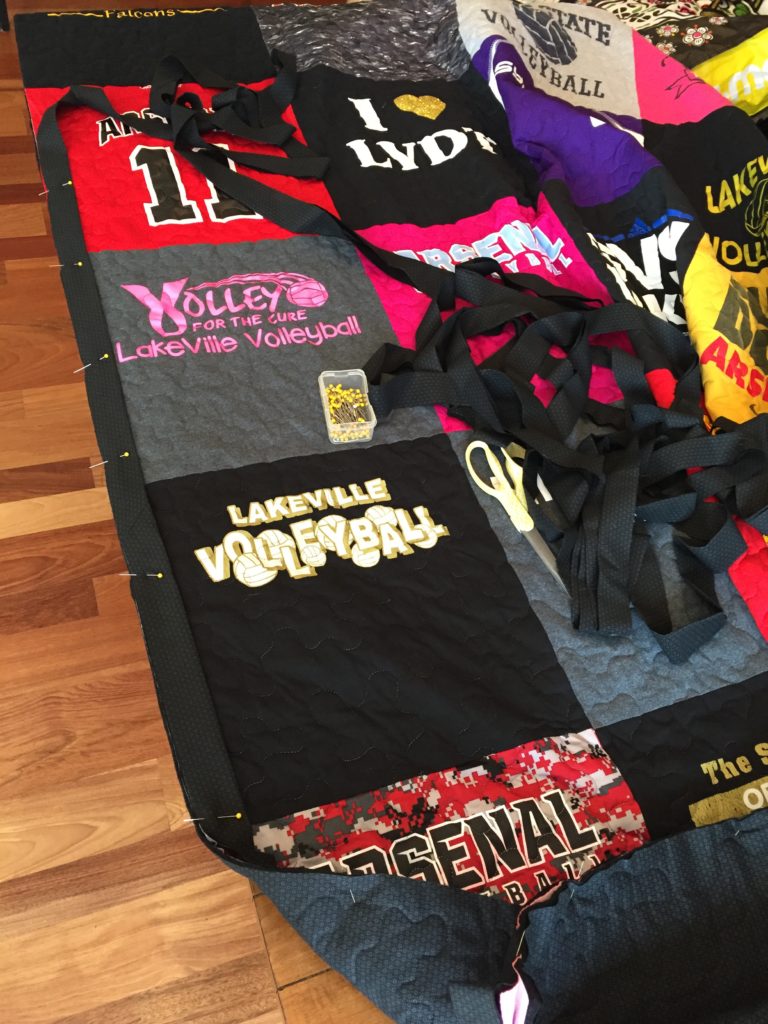
I laid out all the shirts they gave me and I put them in the pattern that I thought best fit. I tried to space the colors out and since there was a lot of black ones I tried to mix them around with the colors and line them out the best I could.
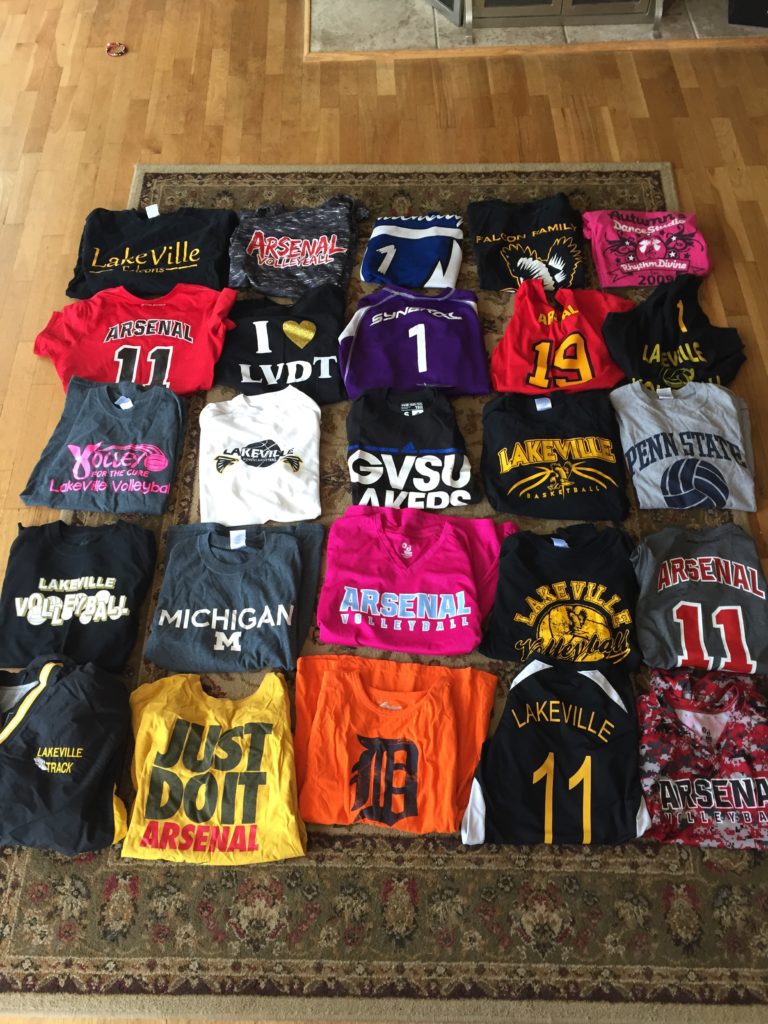
Once I had them all lined out, it was time to get the shirts cut. Now this is where you can do variations of what your doing. I decided it was best to just use a 15″ t-shirt square I picked up to make sure that all the squares were even and straight. This was the fastest way I knew how. But now, if your doing some smaller sized shirts, you could also use a different size pattern to make your quilt. It’s really up to you! The possibilities of what your quilt could turn out like are endless! It might also depend on what size your wanting for the end product. 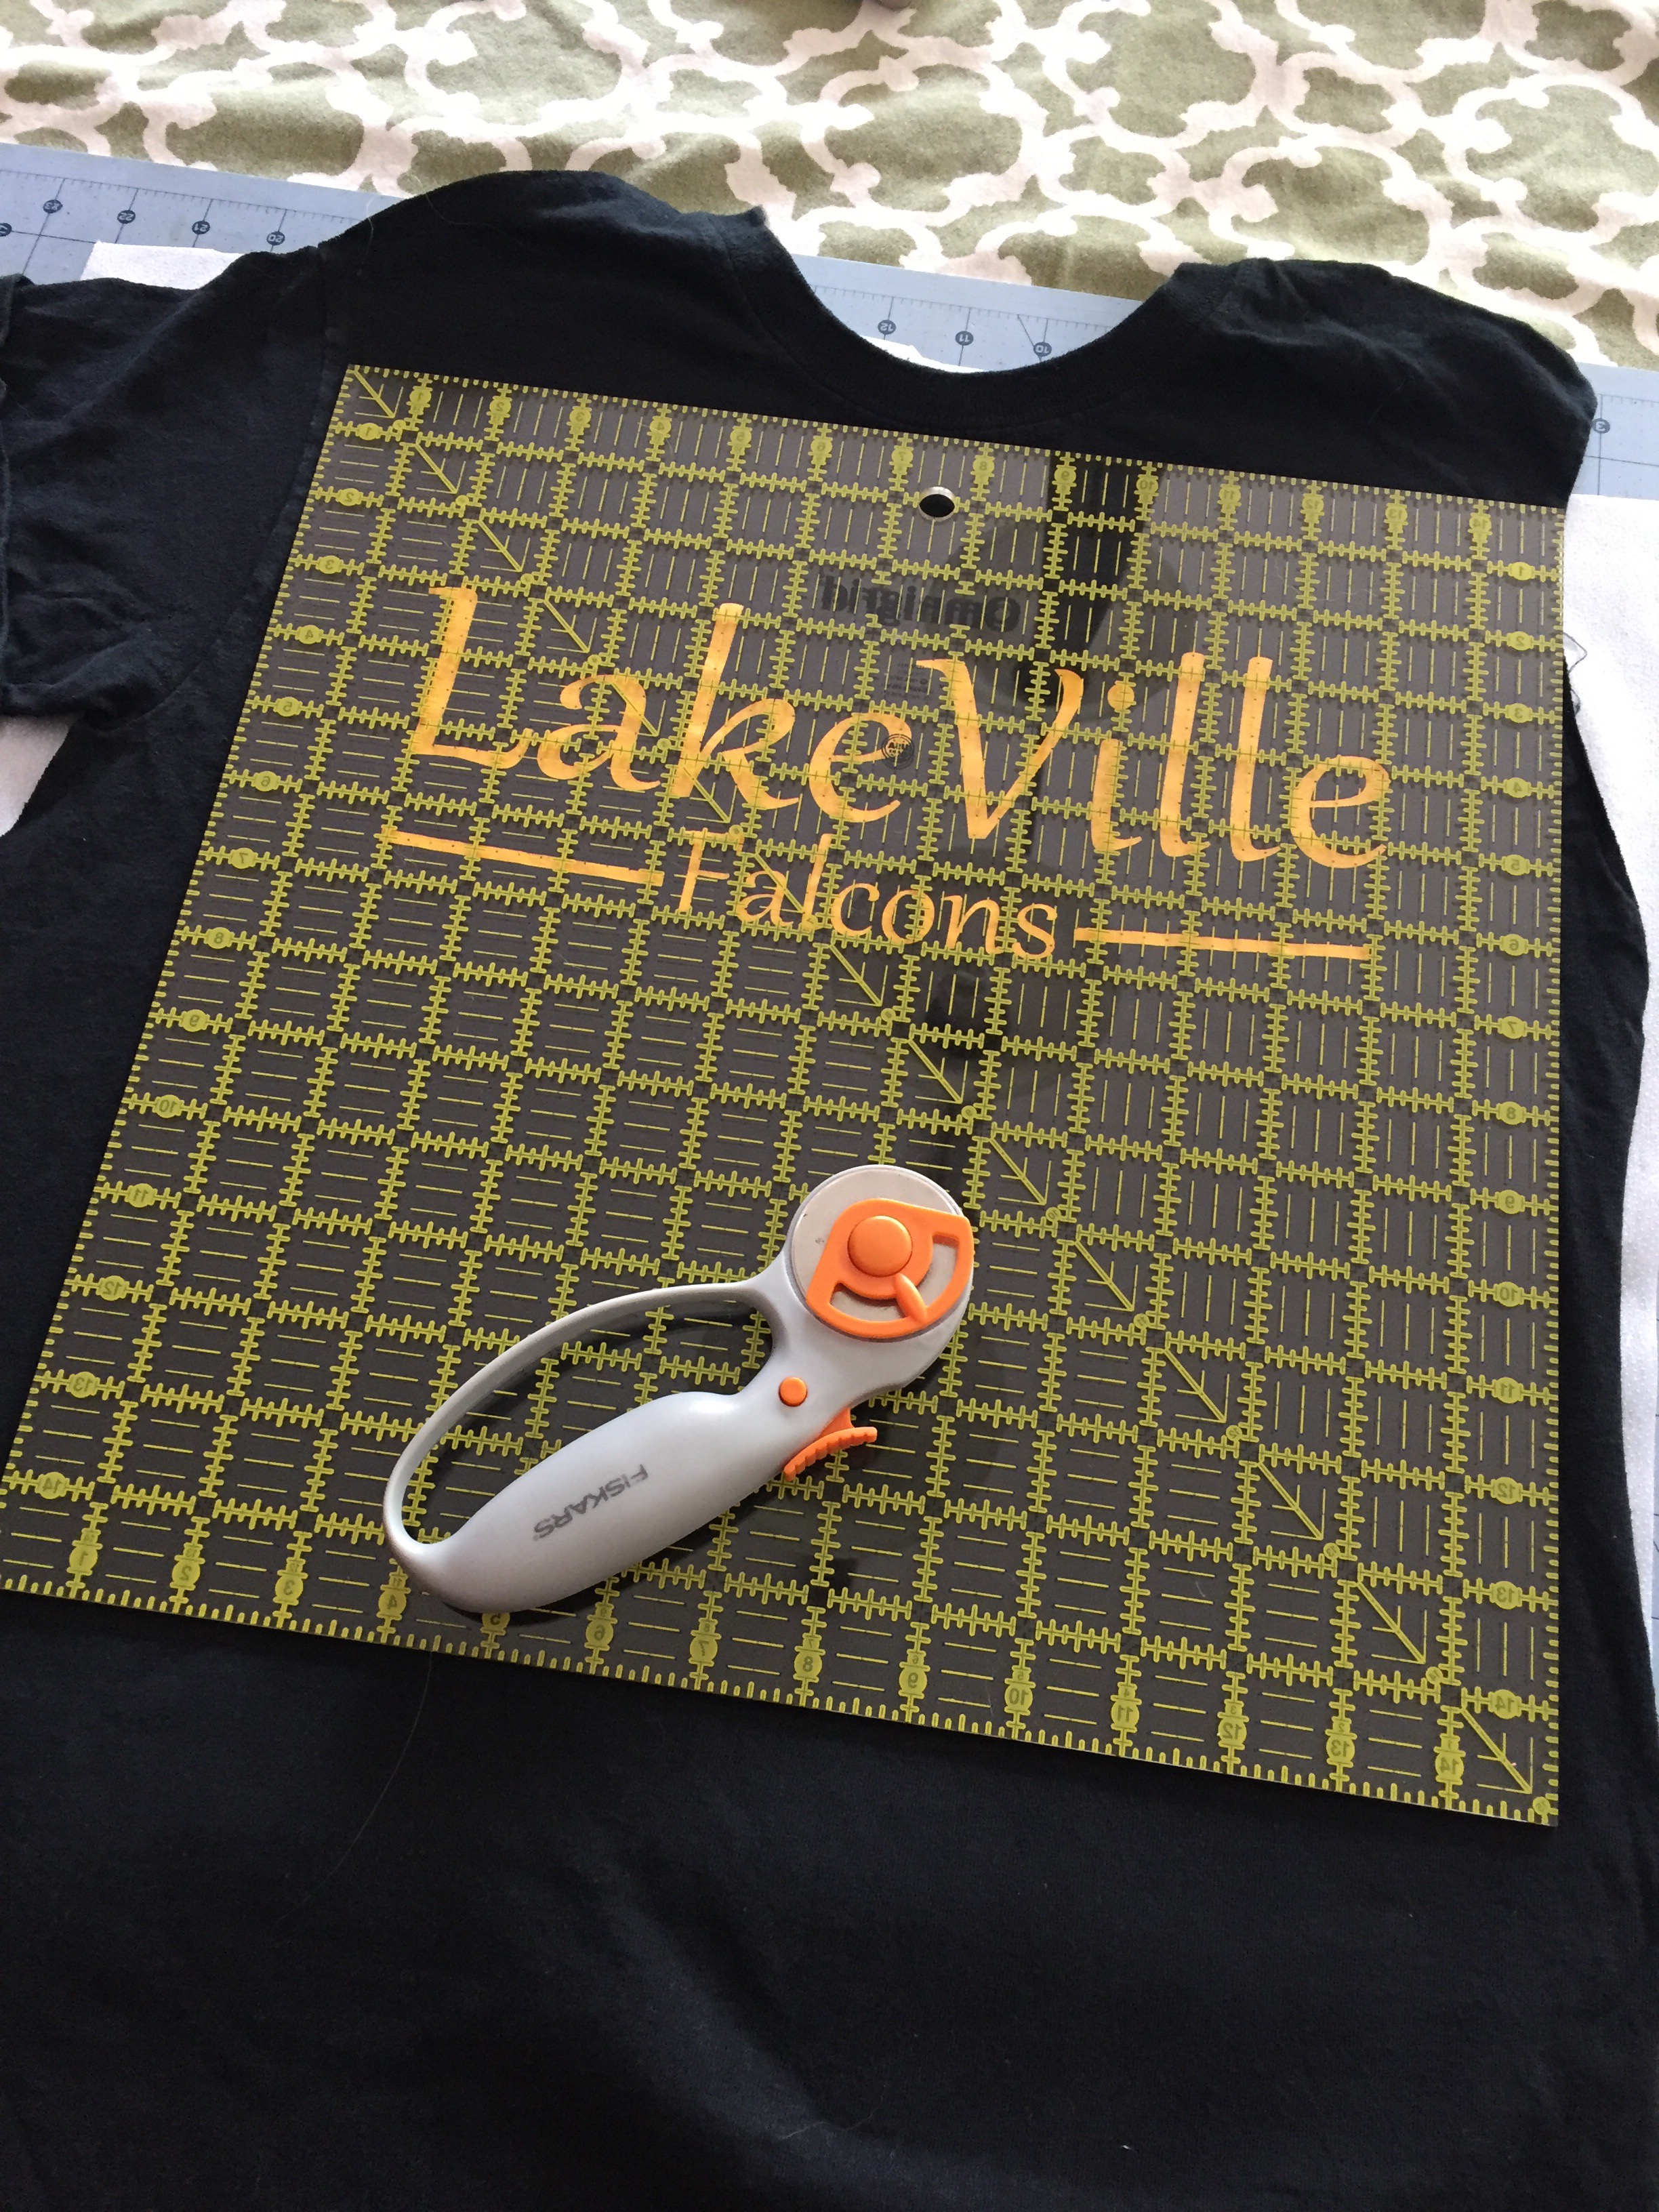
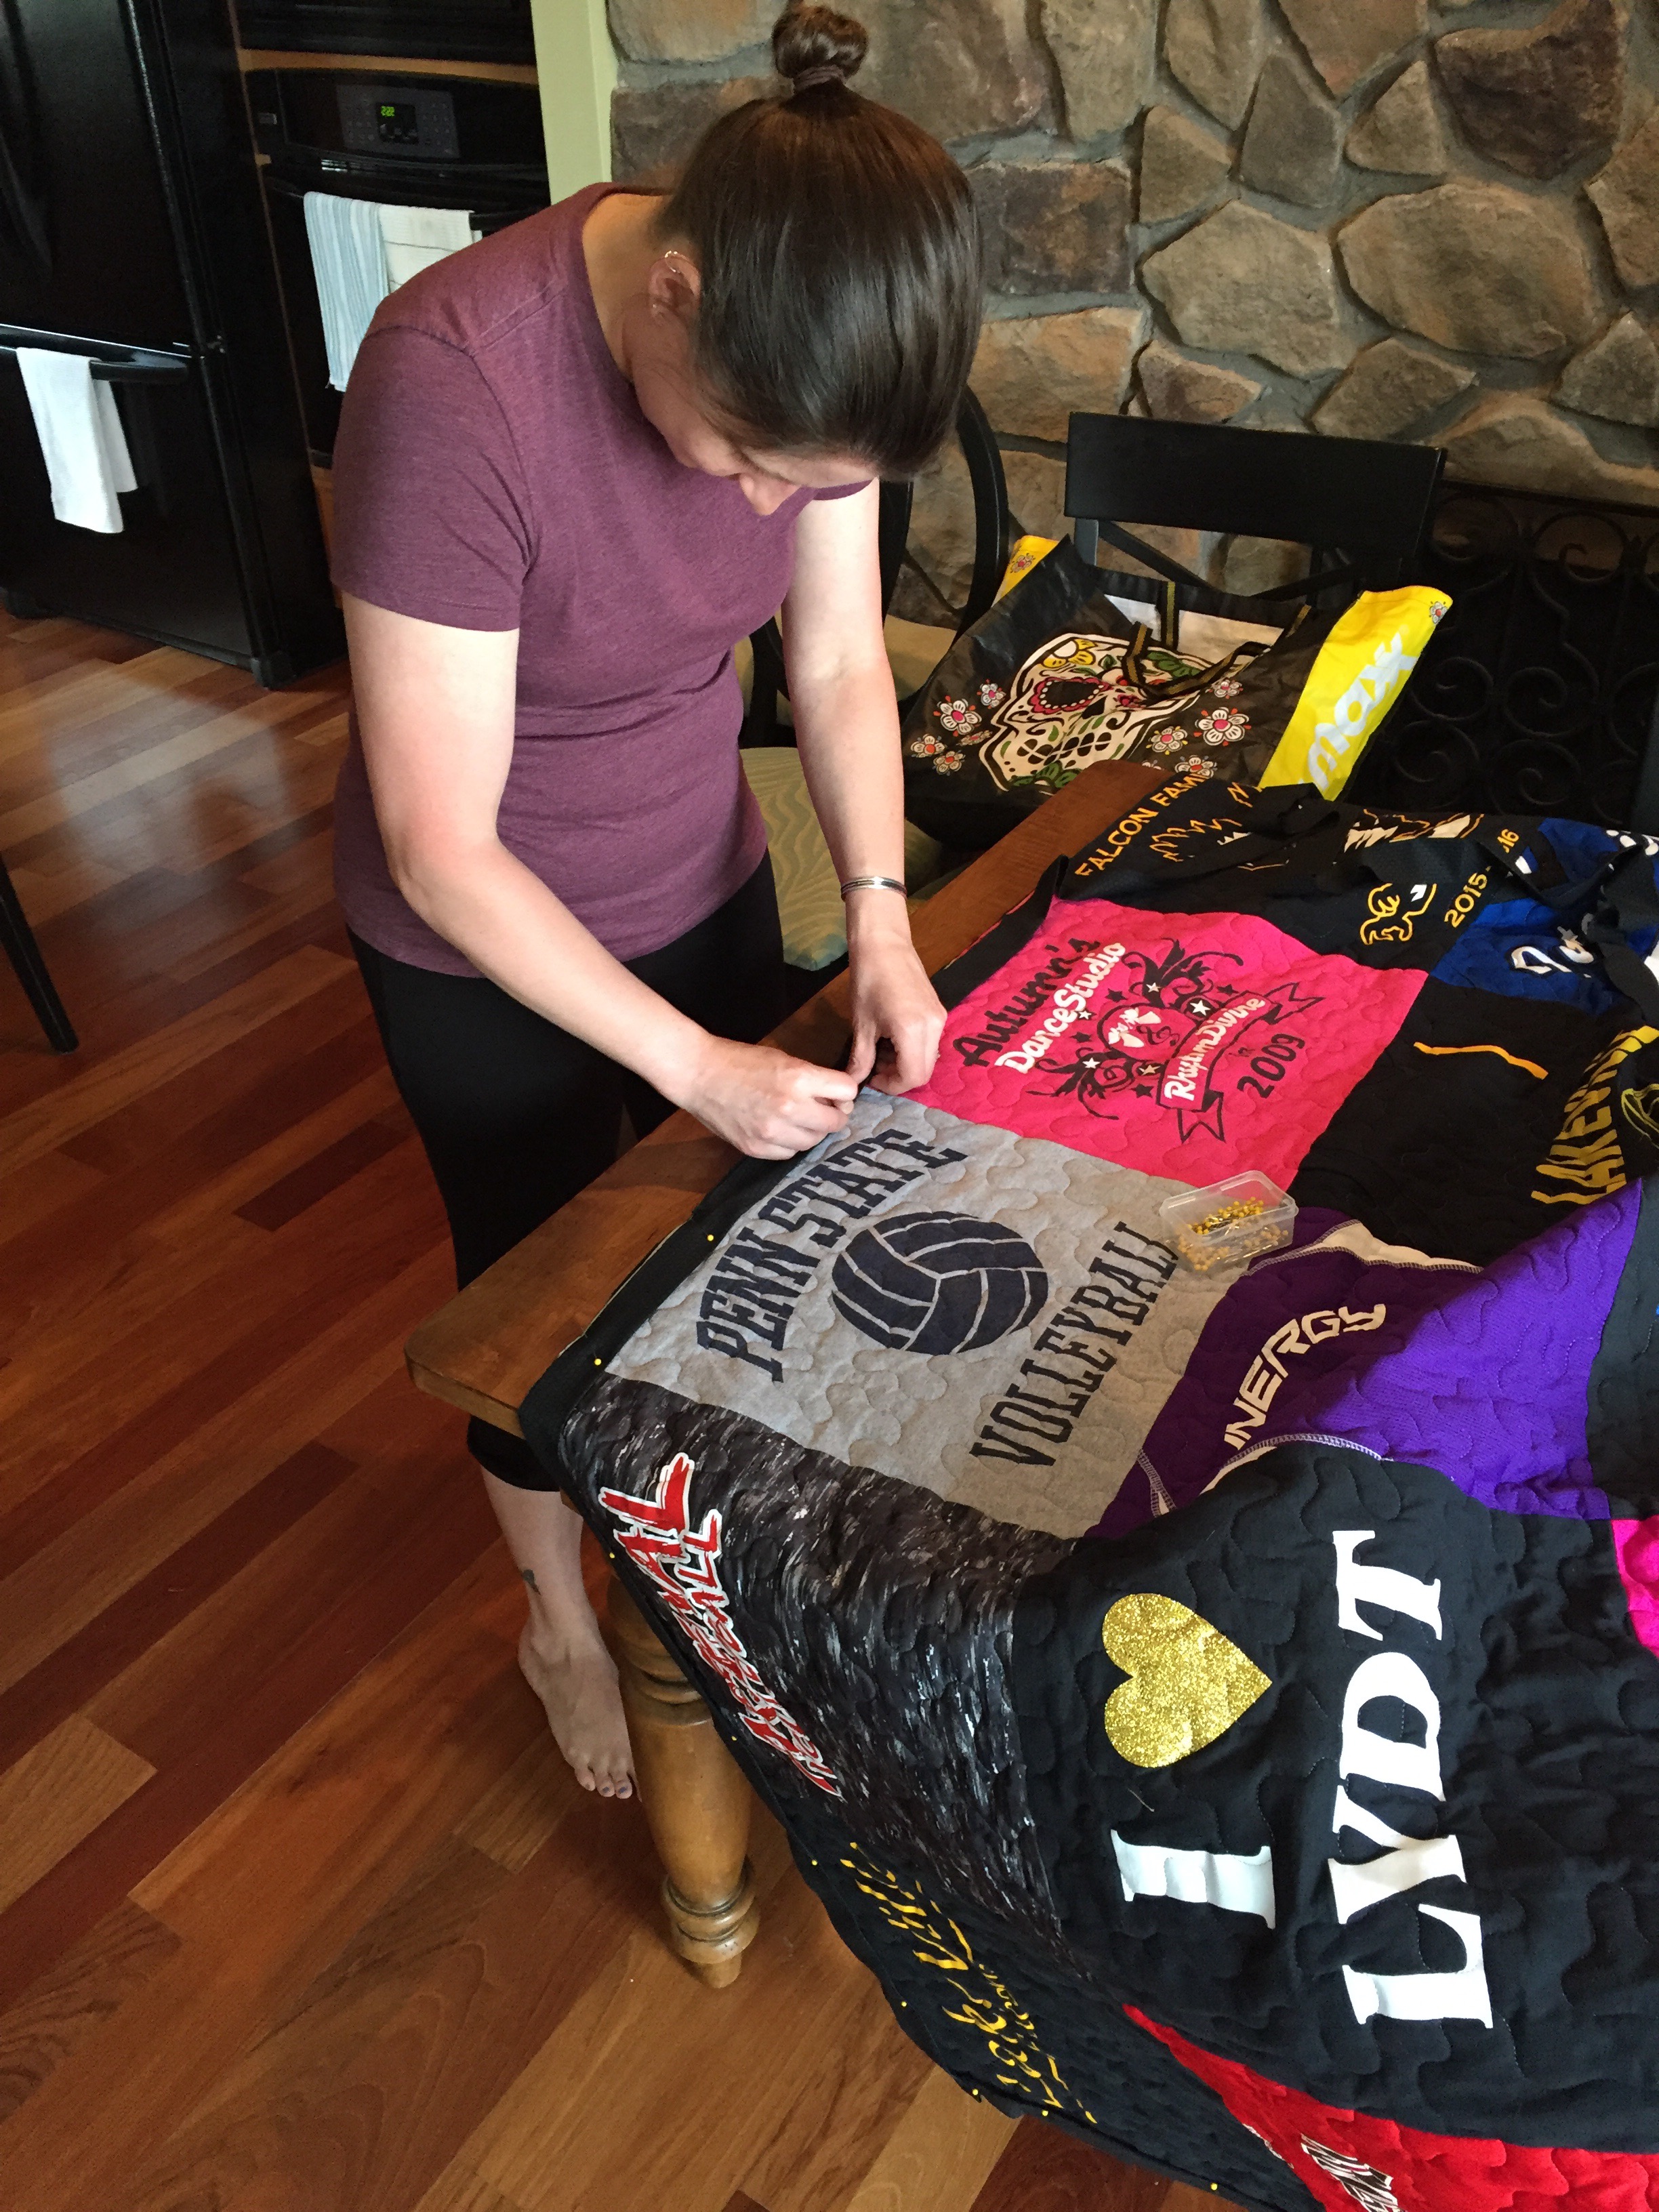
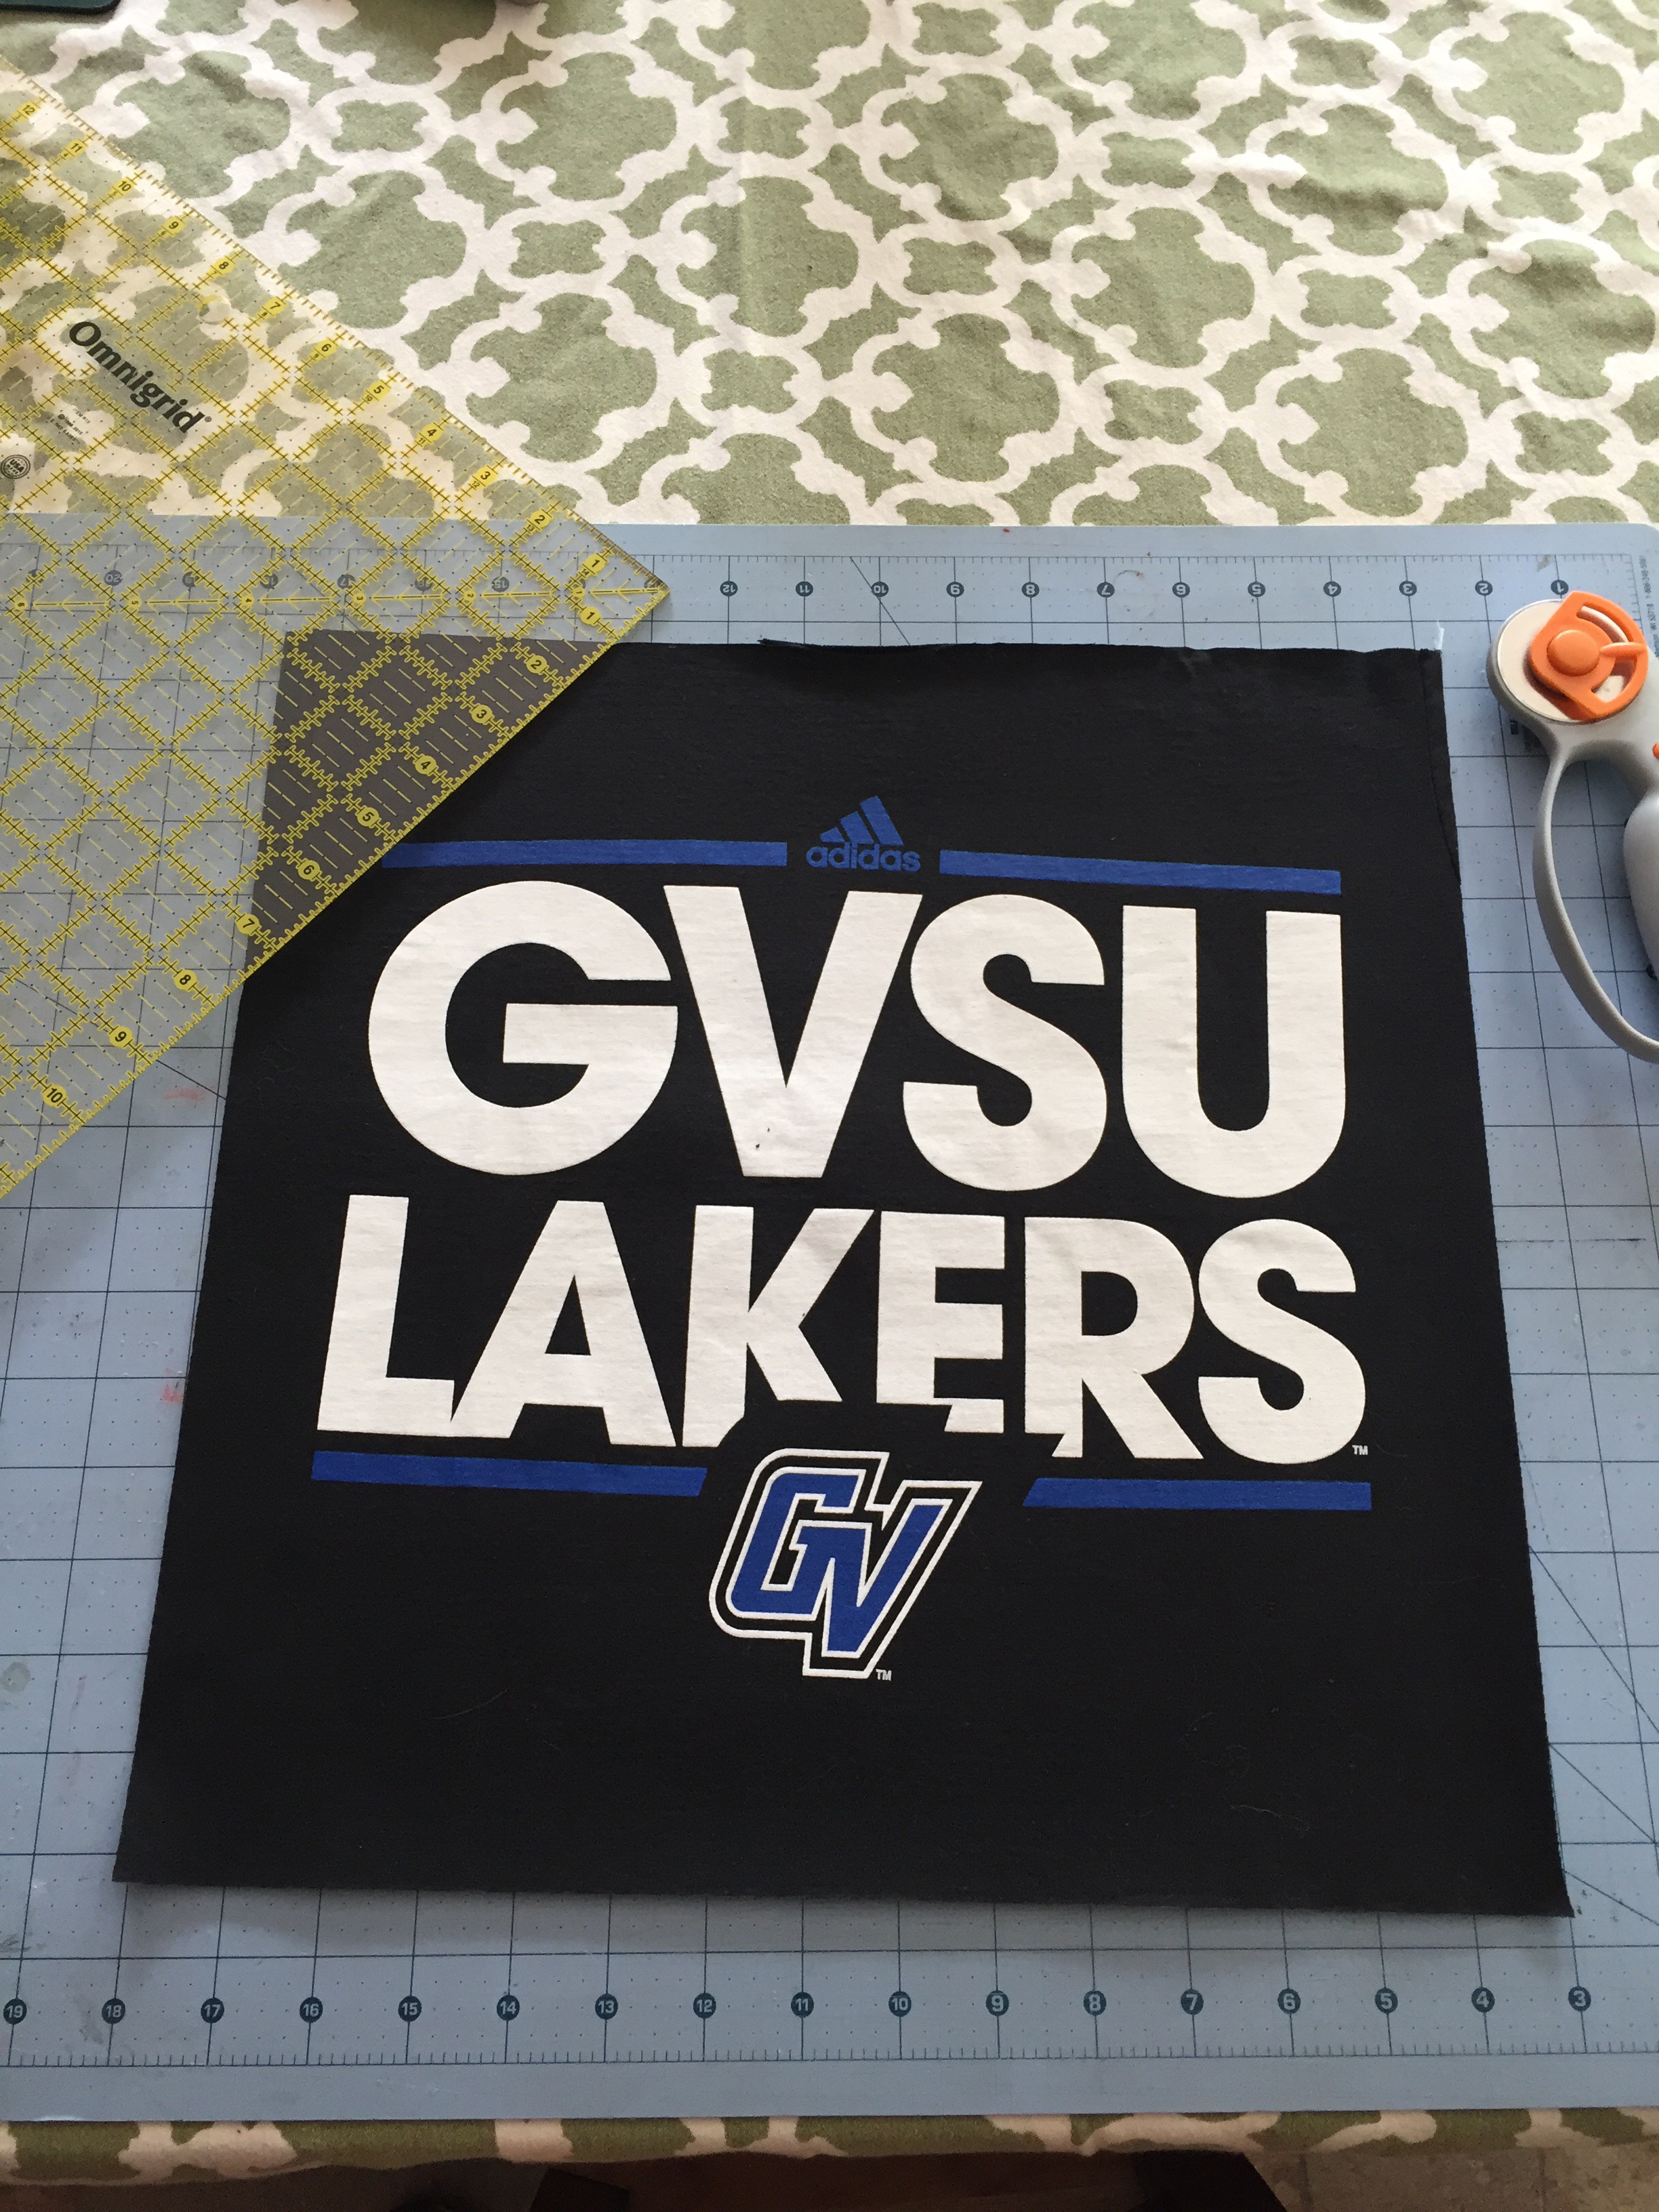 I would iron to the iron-on interfacing to each shirt before I cut it to make sure it was laying flat and that I had the design in the middle of the square I was trying to cut. Now this won’t always work because sometimes the pattern is too high and you don’t want the neck hole in the quilt but generally it’s fine. I also had to patch a few shirts because she played volleyball and they were v-necks or tank tops and so they weren’t quite big enough so I had to sew some of the backing to the front or sew around the necklines so they’d lay down to fill up holes. This took quite a few hours to complete. At this time I also would lay the quilt out as I was cutting it and move things around if I felt they better fit somewhere else.
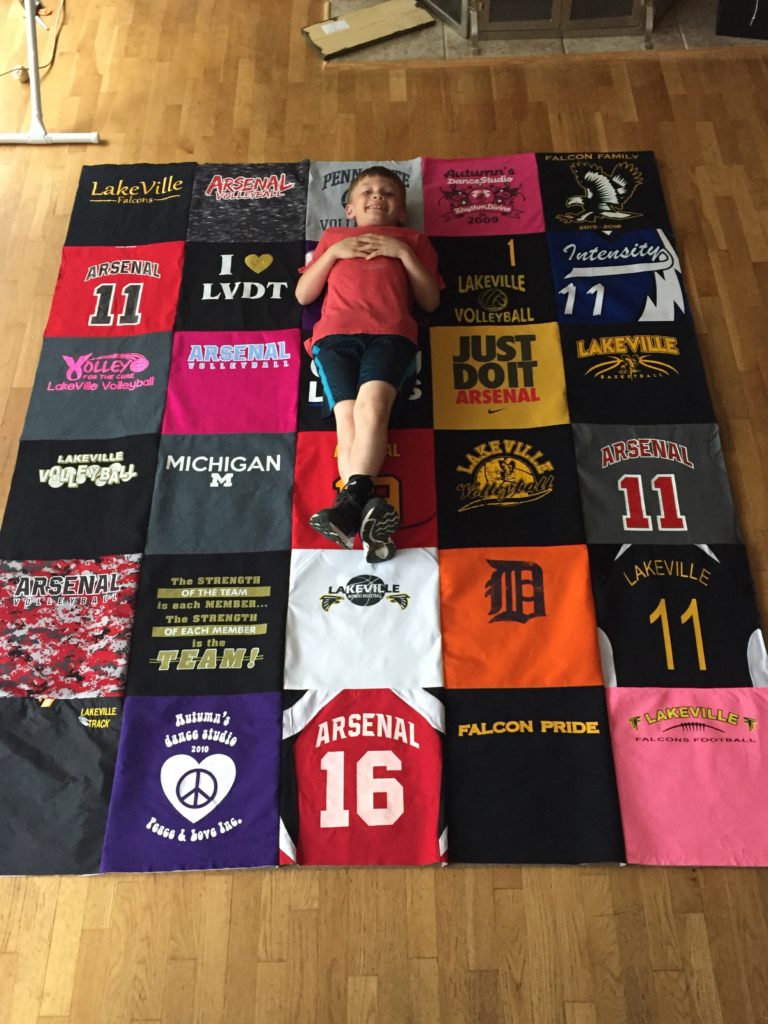
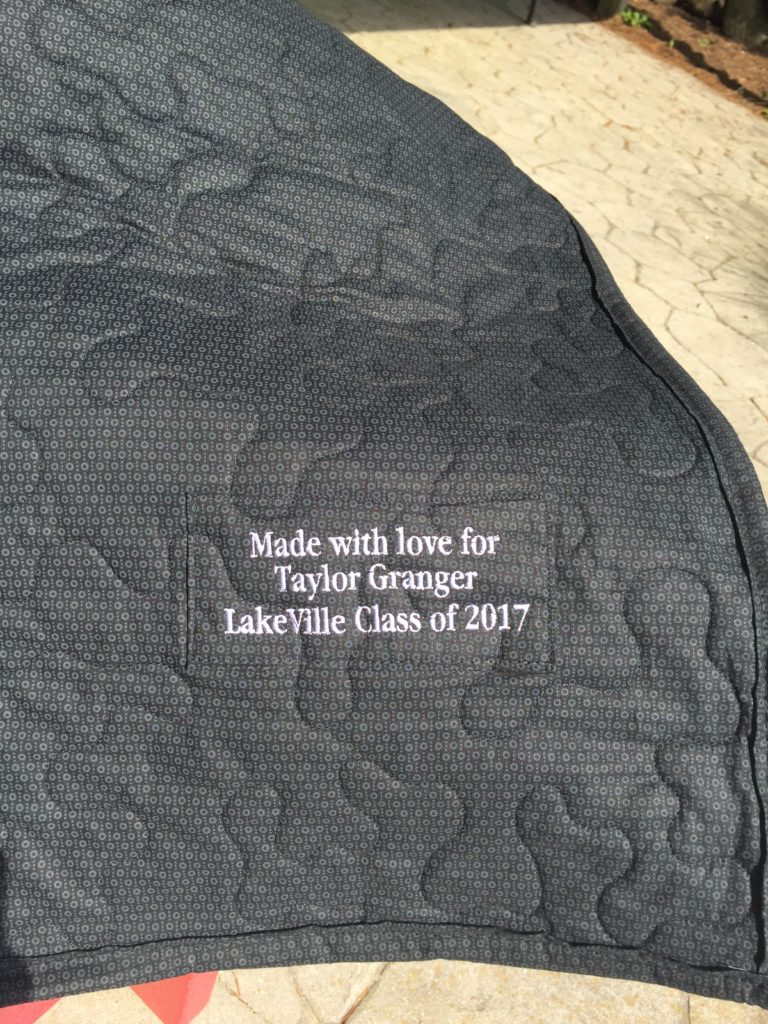
Now this is my 8 year old son laying on the quilt to show the size of it. It turned out to be massive. It was about 86″ long by 72″ wide when we finished up the take the quilt to the quilters. I was lucky enough to find someone local in the Lansing, MI area to do some fabulous quilting on this. She just did a stippling pattern but it didn’t take away from the quilt’s patterns and it wasn’t too overpowering. But before I did drop the quilt off, I had to sew the 2 back pieces together because the quilt was so wide, that 1 piece of fabric wouldn’t fit along the back. I had the idea since I have my embroidery machine to make a special patch on the back with her name, school and year she graduated so she’d also remember this quilt when she’s a lot older. Maybe her grandkids will love this quilt!
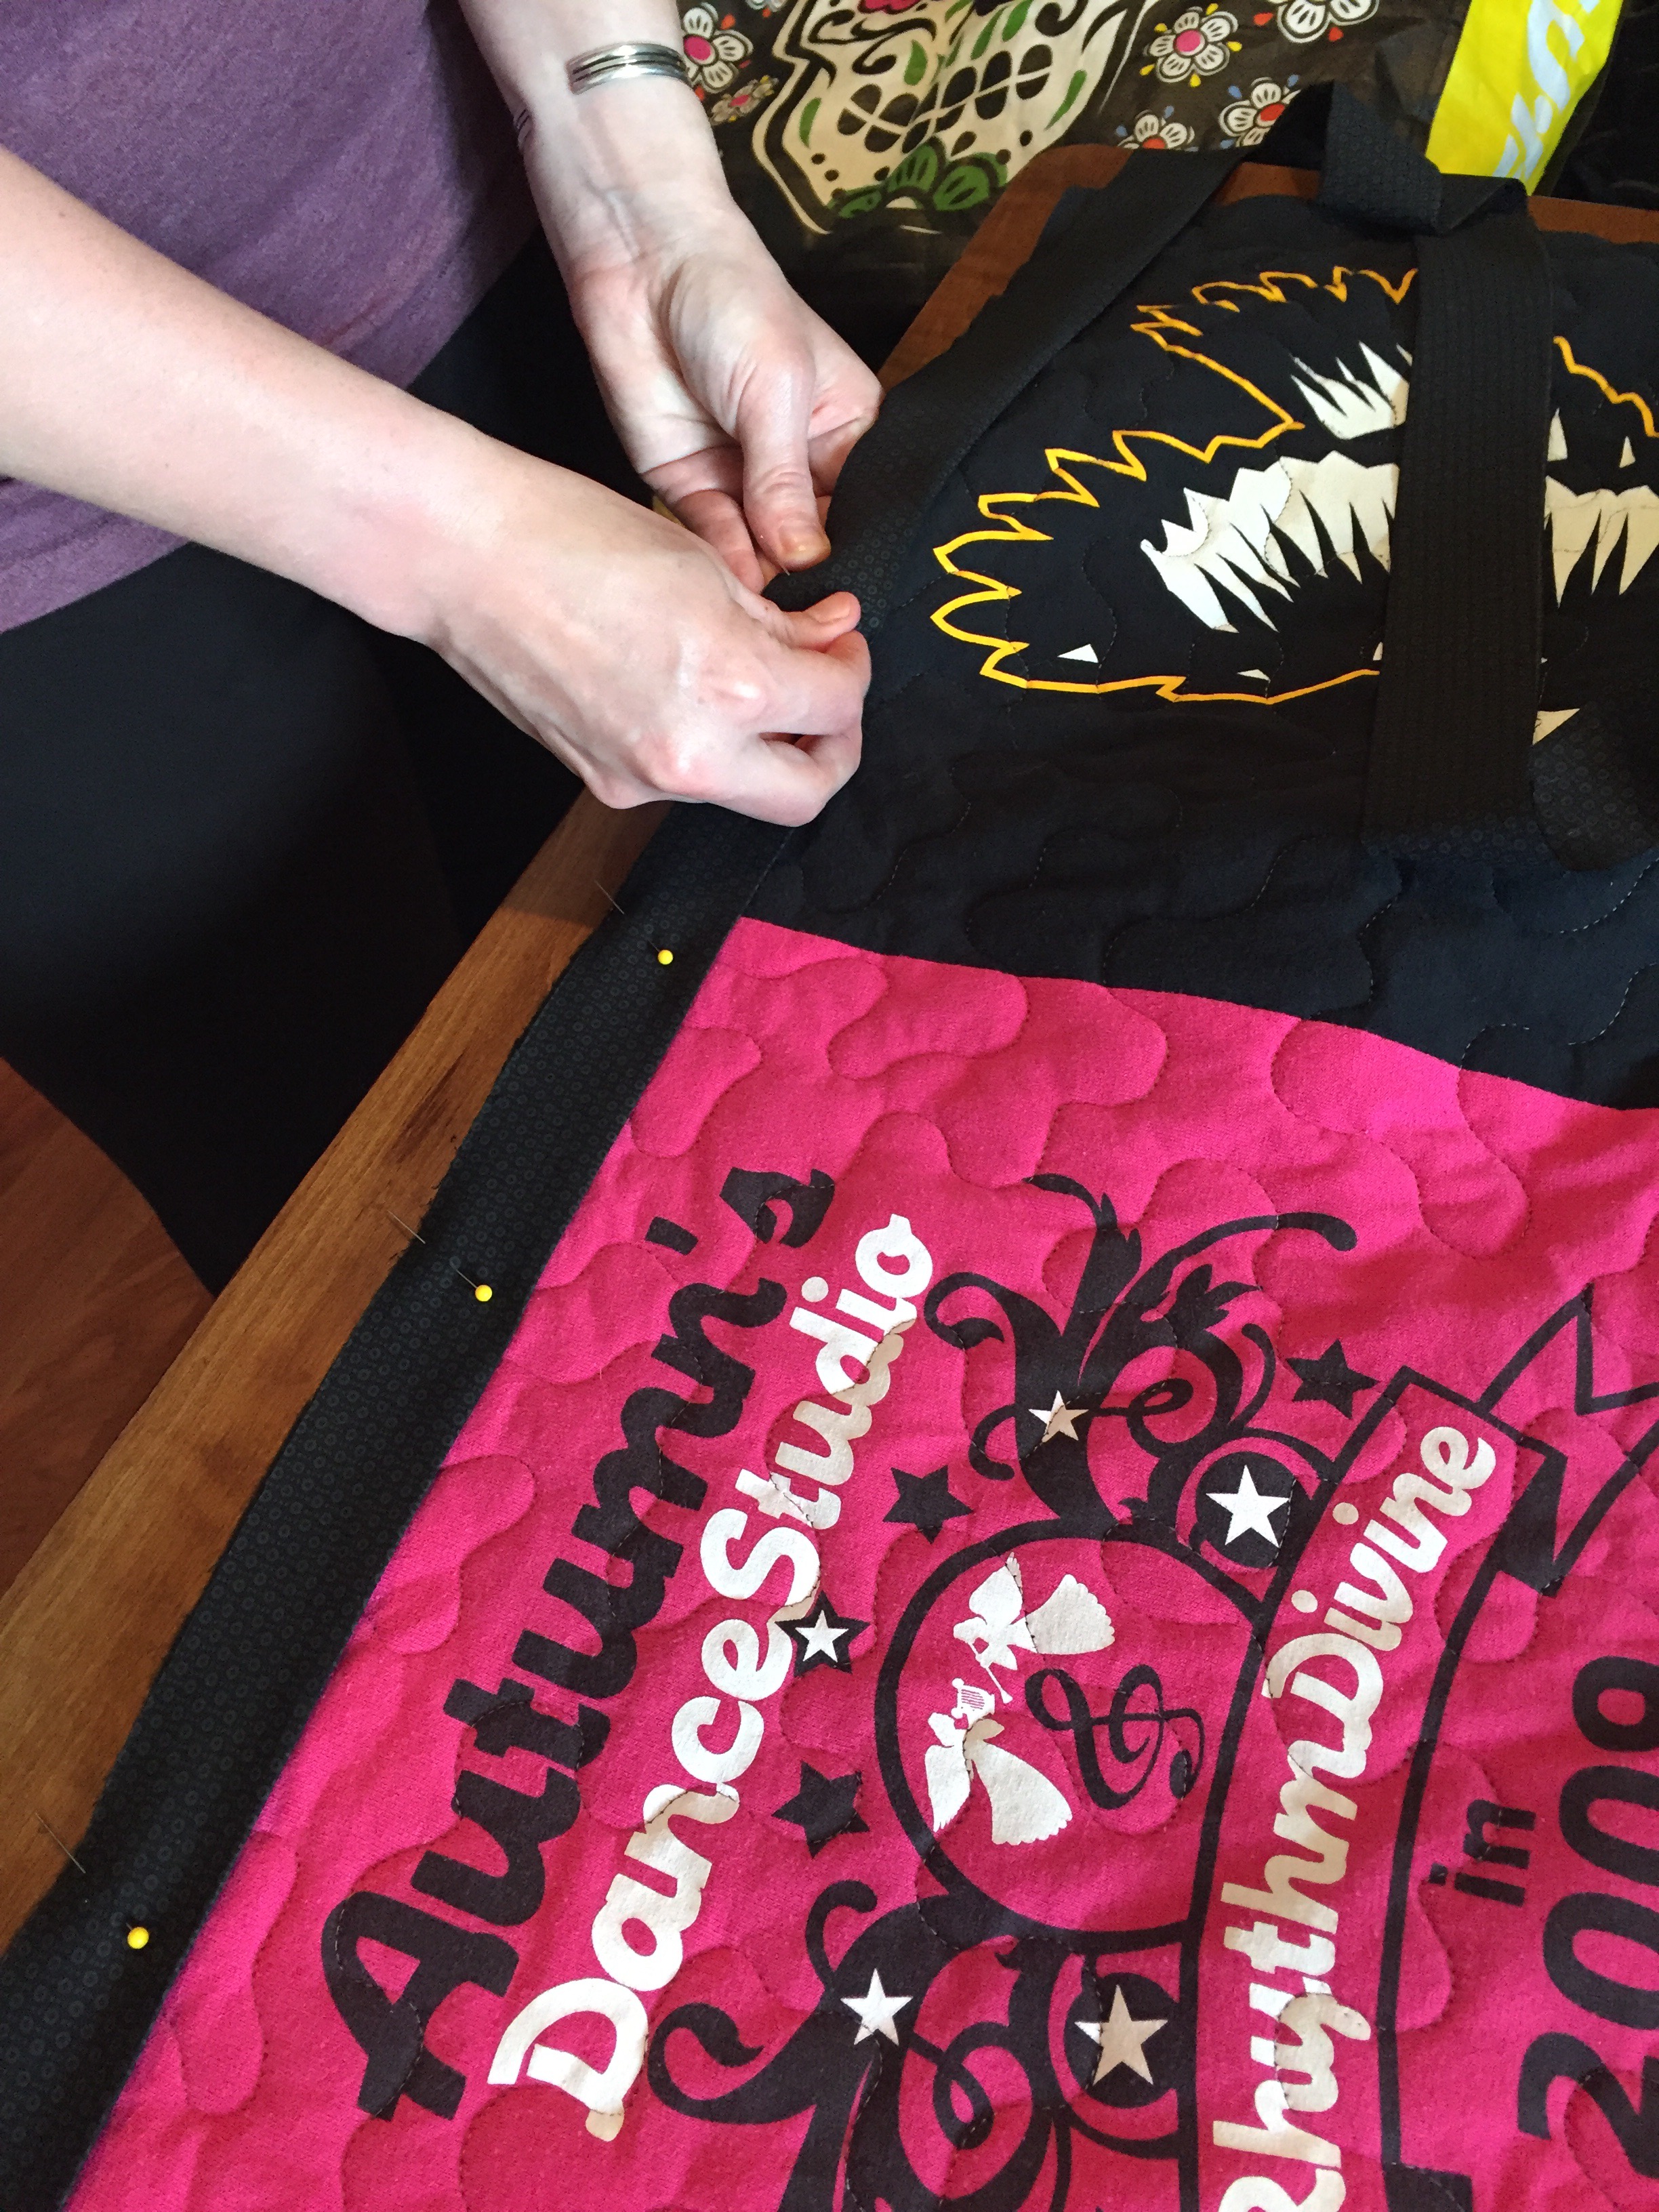
This quilt was almost finished and I just had to finalize the binding so I took it with me on Memorial Weekend to our family’s lake house to finish up the binding so I could make sure it was done in time for her open house.
I had to cut all the binding into strips and sew that together and then attach it to the quilt. This takes awhile too as your wanting to make sure it’s laying flat and matching up front and back as your going. I sewed it on with my sewing machine but some people hand stitch their binding. My hands go numb when I try that stuff so I’ll stick to using my machine!
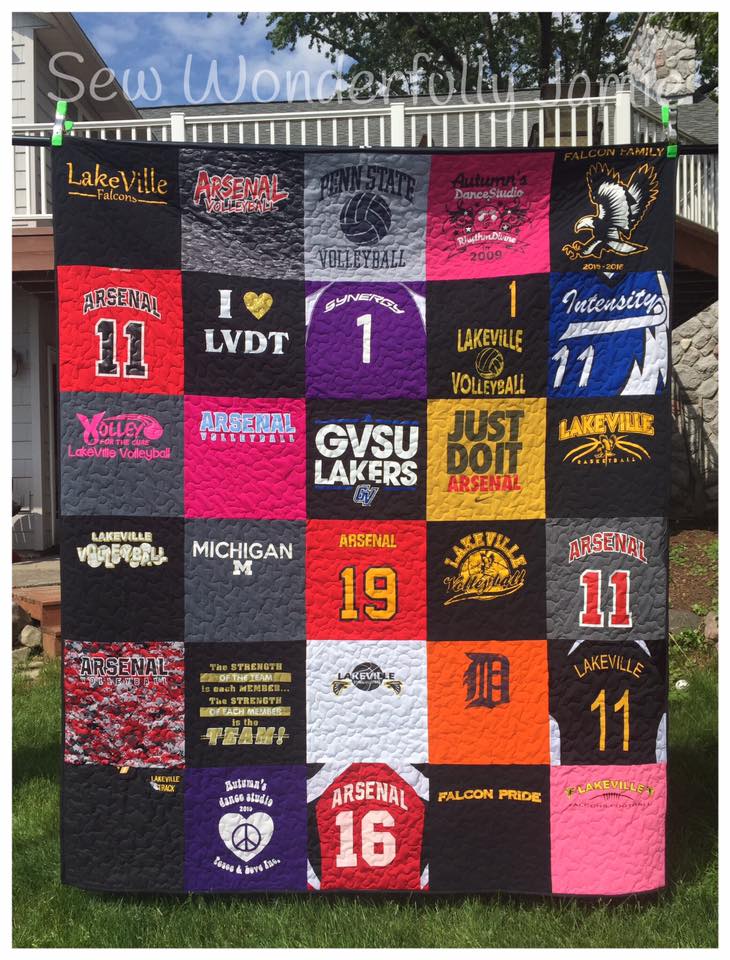
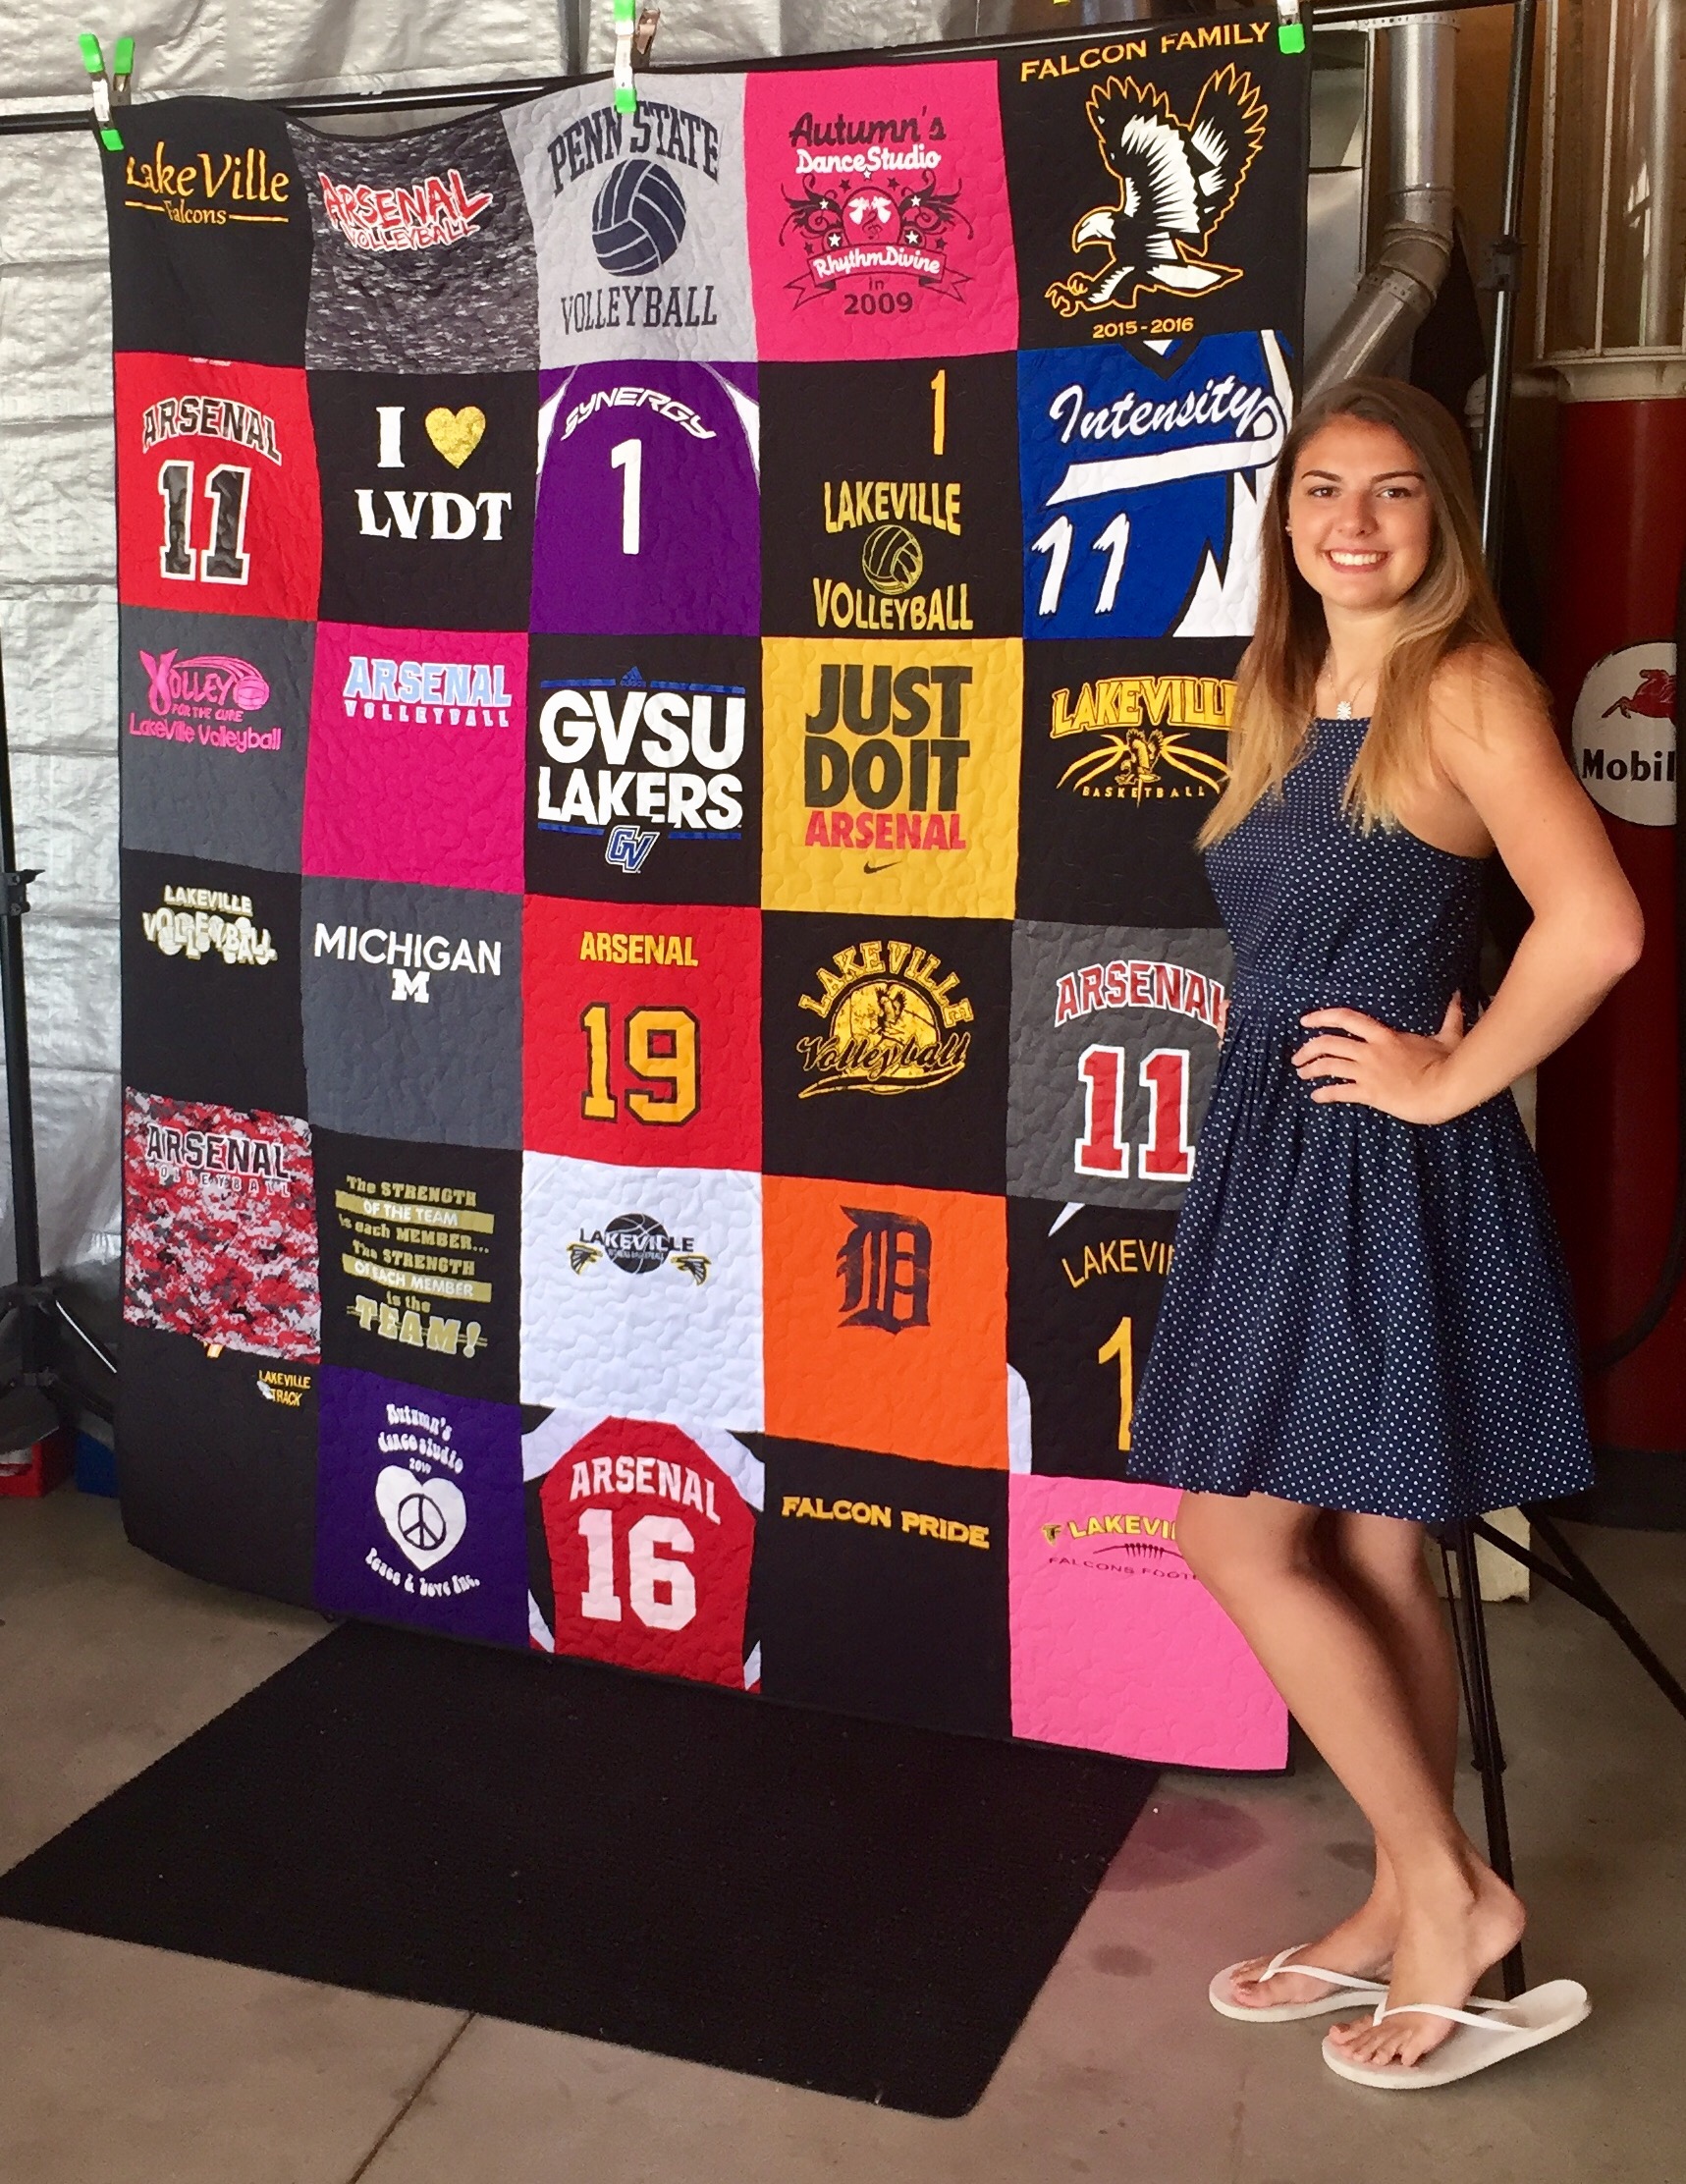
Here is the final product!!
This is my cousin Taylor standing next to her quilt. We had an awesome stand and it worked out perfectly to have the blanket up for display during her whole open house in the garage. So many people complimented on it and I was so proud of how it turned out! If you are interested in having one made- contact me!
I have the pricing list on my Facebook page
Happy Sewing!
~Jamie