I was given the opportunity to partner up with Jo-Ann Fabrics and Crafts again to show you Wavery Fabrics 90th anniversary with some new fabrics they came out with! I was given a sample to make something with for part of the Waverize It! challenge.
The following review is a part of the Jo-Ann Fabric and Craft Stores Waverly campaign. I received fabric from Jo-Ann Fabric and Craft Stores for this project, however, this is my personal, honest opinion based on my experience.
I searched through Pinterest for ideas on what to make and came up with floor pillows! My son’s like to play video games in the basement and since we don’t have anything for them to sit on to play, I thought this fabric was the perfect opportunity for me to use it and give them a seat to use!
I was inspired by the blog Living with Punks. She made 2 of the cutest little pillows for her children and I was excited to follow along with her easy steps to make them too!
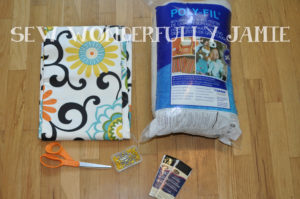 If you’d like to make your own, here’s what you’ll need:
- 1 yard Home Dec Fabric
- 2 pkgs. 1/2 ” pre-made piping
- Contrasting Thread
- 16-24oz. Fiberfill, depending on how lofty you want it
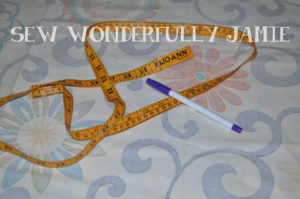
Since I didn’t have a compass to draw a straight circle (which would be easier by the way) I just took my measuring tape and fabric marker and measured out 17″ acrossed. I marked a dot on each side of the tape and then found the center of that. I just rotated around the center mark, marking around until I had enough dots around the fabric to connect the circle.
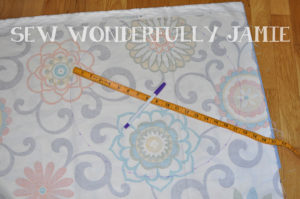
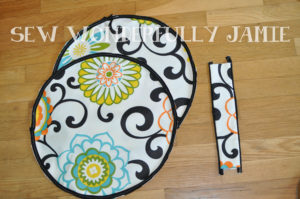
This is what my circle looked like on the pattern. I then cut it out. I was able to cut 2 at the same time because I had the fabric folded in half and that way they’d be measured the same.
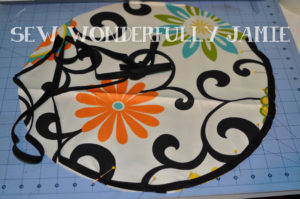
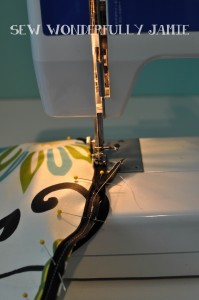
Then you attached the bias tape around the circle, matching up with the edges so it forms a circle. Make sure your lining up the raw edges, as when your sewing, you want the piping to be towards the middle.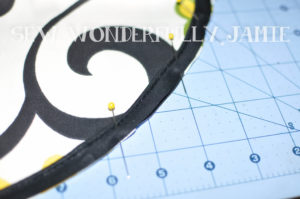 With contrasting thread, sew around the circle stitching the binding to the fabric. Do this for both circles, making sure your sewing close enough to the edge to grab both the fabric and the binding with no spaces. Don’t forget to sew up the long edge of the fabric once you get to that point. Don’t want to leave a big hole on the side of your pillow!
Next you’d make the handle, but I guess I didn’t take any in depth pictures of this. You take the one piece of fabric, add the binding like you were on the circle, but add a piece of piping on both sides. Sew this onto the fabric. When this is done, put the other piece of the handle upside down on top of the piping and sew on each side matching the same stitching you just sewed on. Fold the fabric inside out and iron down flat. Fold the ends in to hide the raw edges and stitch the ends closed. 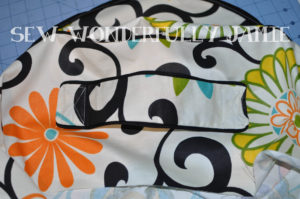
Adding the handle was fairly easy. Just pick a side of the pillow and pin the handle to the middle of the side. Remember to leave a little give room as you want to make sure there is spacing in the handle to put your hand through. Stitch on each side of the handle and sew a cross through each side to add support and strength to the handle.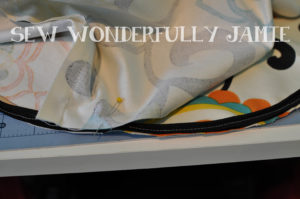 Pin around the other edge of the circle to finish making the pillow. Pin around all bout a couple inches of the circle so you can leave that open to turn the pillow the right way, and leave a spot to fill with stuffing.
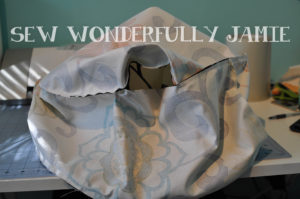 Picture with hole before flipping pillow outside in.
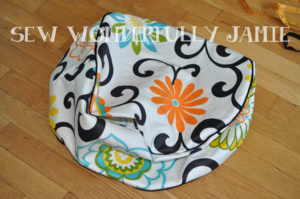 Pillow before I added any stuffing.
 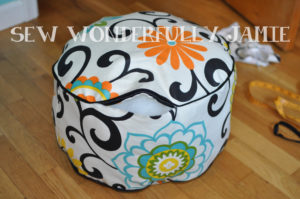 I stuffed the pillow with as much stuffing as I thought it would need. With having boys, I overstuffed it because I know it will break down fast as they are rough and tough kids! I’m sure it will be used as a weapon against each other at some point. Fill it up with as much cushion as you’d think it will need.
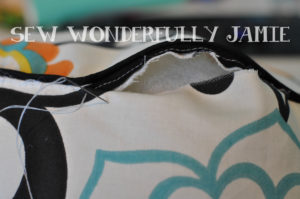 Hand sew the opening shut. I’m not very good at doing this, or hiding the thread but do the best that you can.
 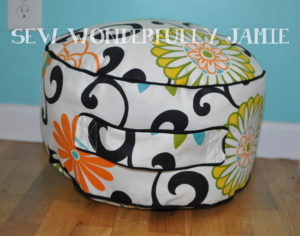 Tada!! Finished pillow!!! It turned out so cute! 🙂 I just need to make another one now to match it so they both have a place to sit.
 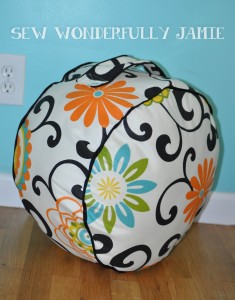 Standing on it’s side.
  My youngest son modeling the size to show you how big it is. He’s 4 so it’s perfect size for him!
 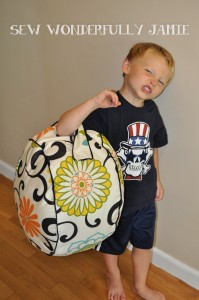 He’s even modeling that you can carry it, as he says “no mom, I want to carry it on my arm like this”
Now if you like the fabric you see, you can go onto Facebook and be entered to win the grand price of $1,000 in Wavery fabric or a $250 Jo-Ann gift card!!! Head on over to JoAnn’s Website to enter the contest! Make something unique of your own with some of Waverly’s amazing fabrics and post it on their site for a chance to win! You can enter the contest from Sept 1-22! Winners will be chosen after that date.
I’ve used Waverly fabrics on purses, tote bags and pillows before. I love that they have so many cute patterns and designs to choose from!! And for a purse, the fabric is much sturdier then just a normal cotton fabric you might use. If you enter the contest, don’t forget to come back here and show me what you made!
