
I was approached by a family friend who asked if I could make her some surgical caps, so I found a pattern and got to sewing!
First I figured out what fabrics I had left in big enough pieces and let her pick out the 3 fabric patterns she liked.
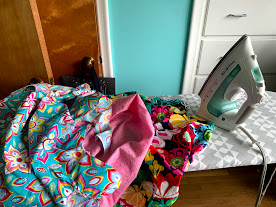
Then I washed my fabric. You must do this first because that way the fabric is already pre-srunk and when they do go to wash the surgical cap again, it won’t shrink in the hot water wash and not fit again. I ironed the fabric once it was out of the dryer and set it aside.
I found this pattern online from twelvebees.ca and decided this was the shape/style we were aiming for so I downloaded it. There is also a YouTube video on it. I should really learn how to make some YouTube videos but I’ll take some pictures along the way.
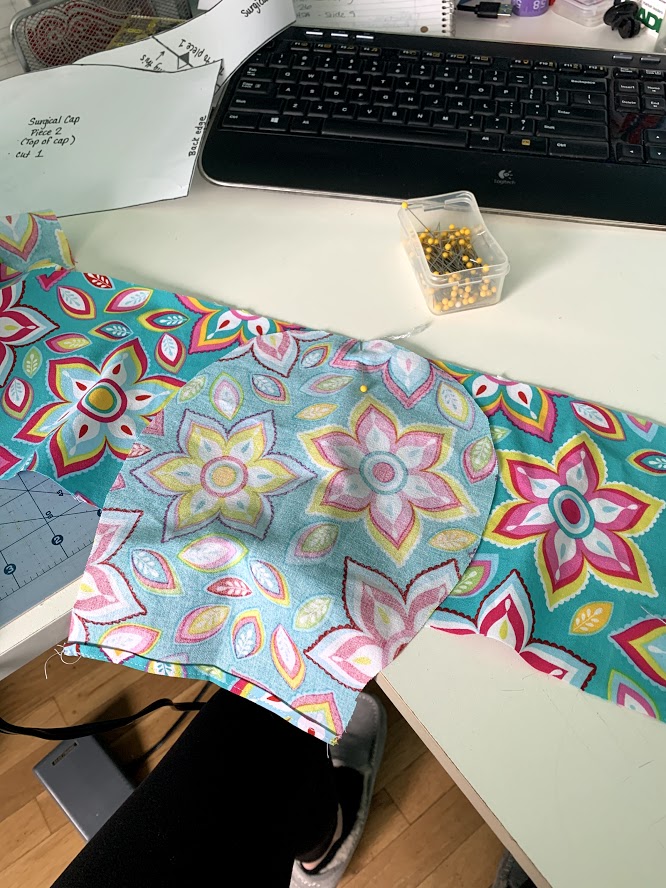
I printed out the pattern and cut it out.
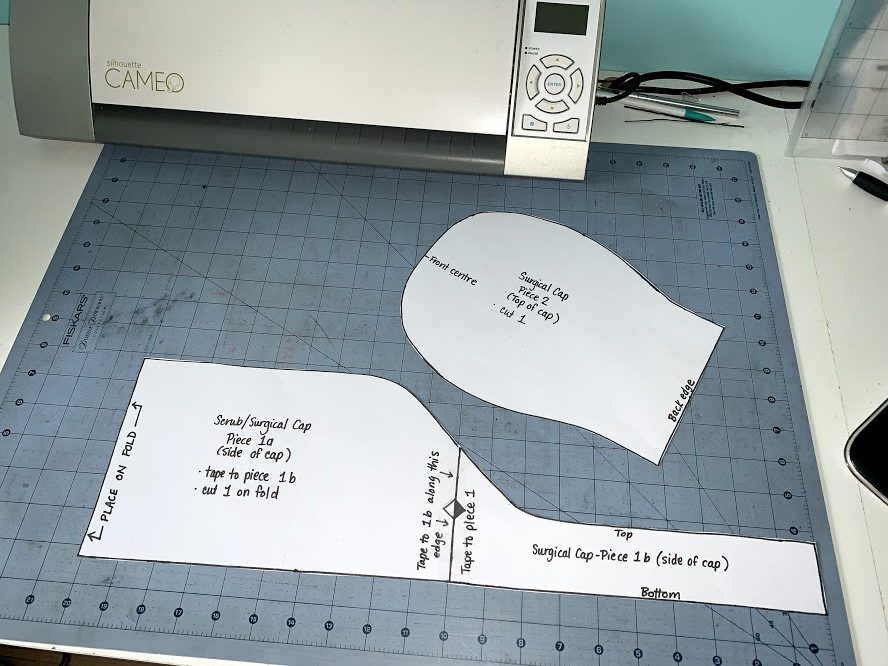
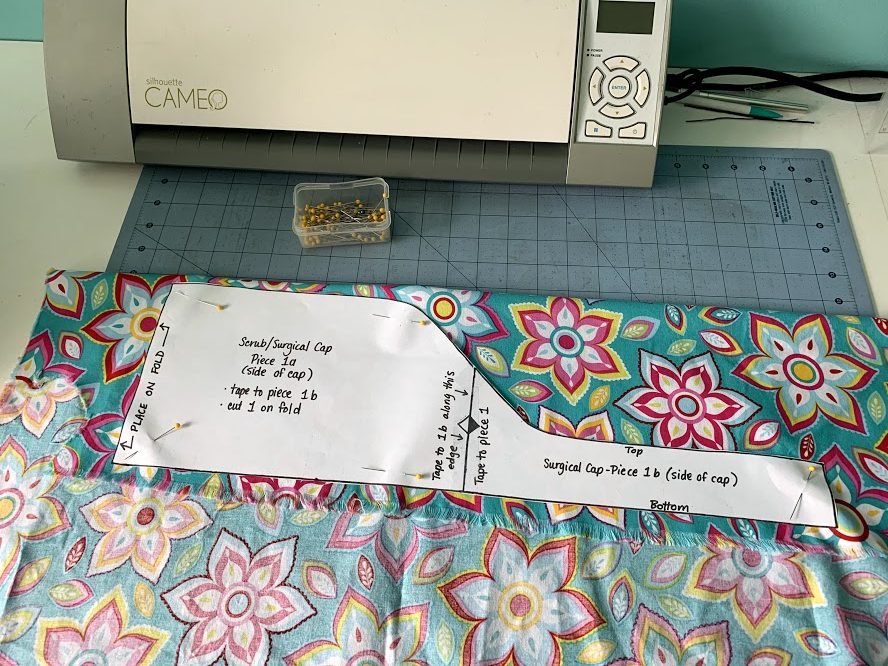
Next, lay the pattern on your fabric. In the pattern, she has you place the one end of the fabric on the fold. Since I was using scraps of fabric that I’ve had stashed away in my cupboard, I didn’t use any that were long enough for that. So I just cut 2 separate pieces and serged the edges together.
I added a little bit of length on that end to account for sewing them together and then the tail piece, I cut longer like she suggested also, because that gives you more fabric to use for the tie. And depending on the size head or amount of hair you have, that could be ideal. Not much, maybe an inch more.
Then you cut out the top portion of the hat.
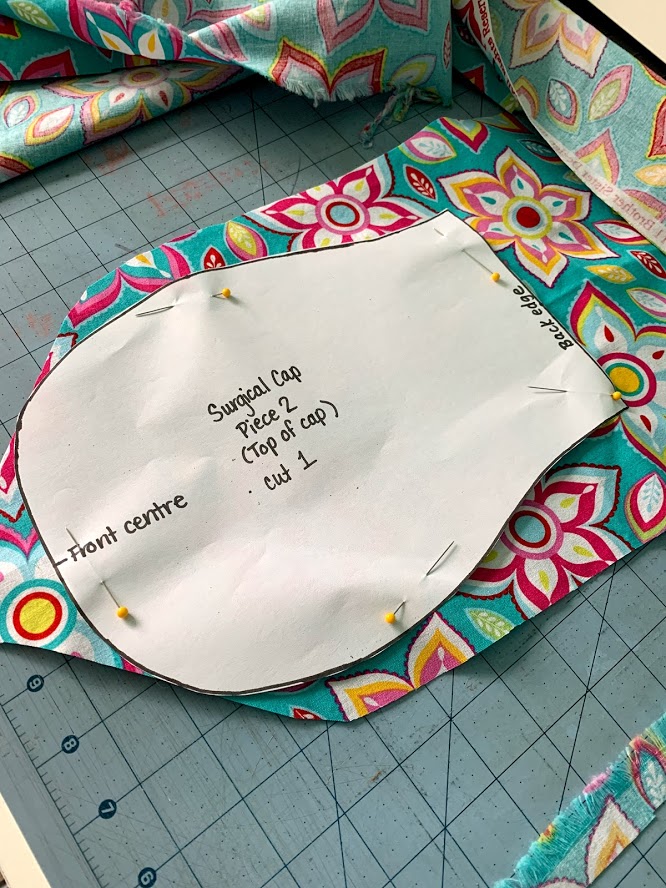
I was able to cut this out of the portion from when I folded over the other section and there was a big enough chunk left.
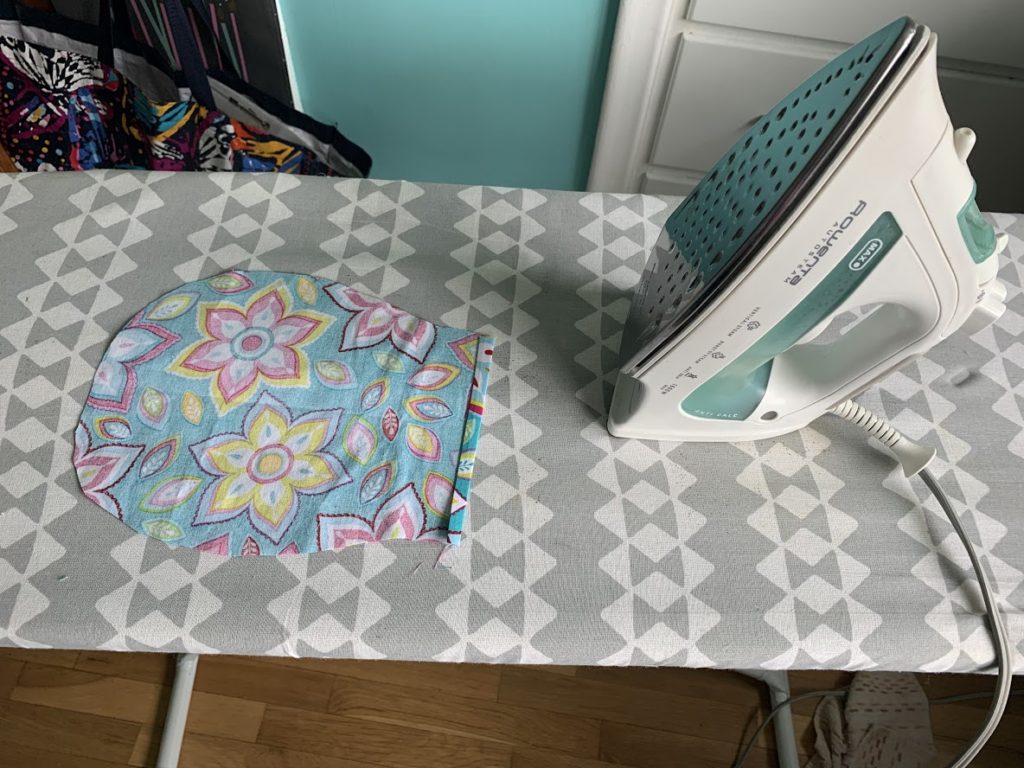
Next you’ll need an iron. Fold over the bottom portion of the top of the cap about 1/4″ and iron it down. Then fold it over again another 1/4″ and iron it again. Then you’ll want to take this over to your sewing machine and sew down the edge so it stays down. This is the back of the cap.
Now it’s time to pin the top of the cap to the bottom section. Starting at the middle of the hat, I folded it in half so I could see the middle, and then I matched it up with the part of the fabrics on the bottom that I serged together because that’s the middle.
Keep going around each sides of the top of the cap and match it up with the edge of the bottom fabric until you pin all the way down to the bottom of the cap.
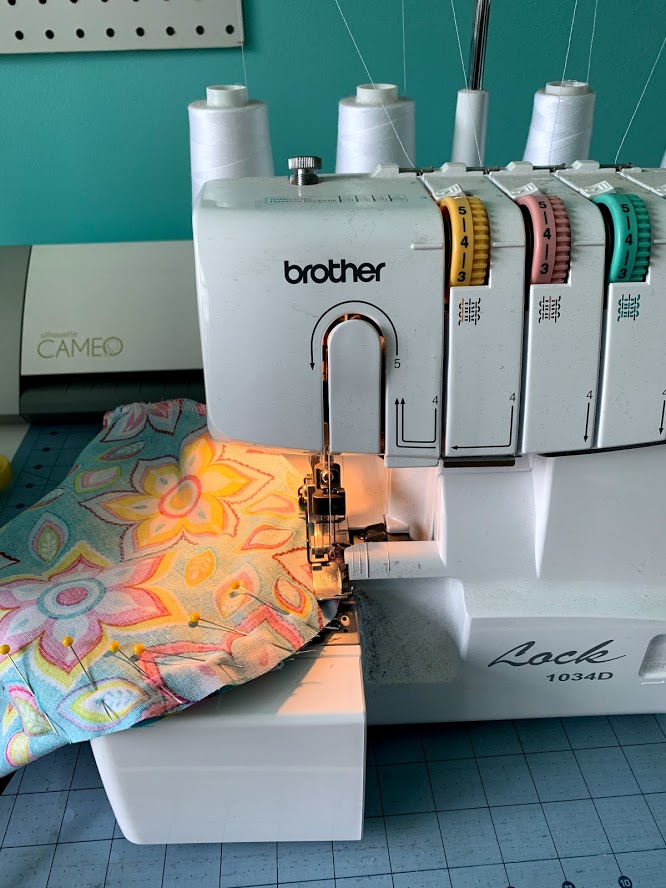
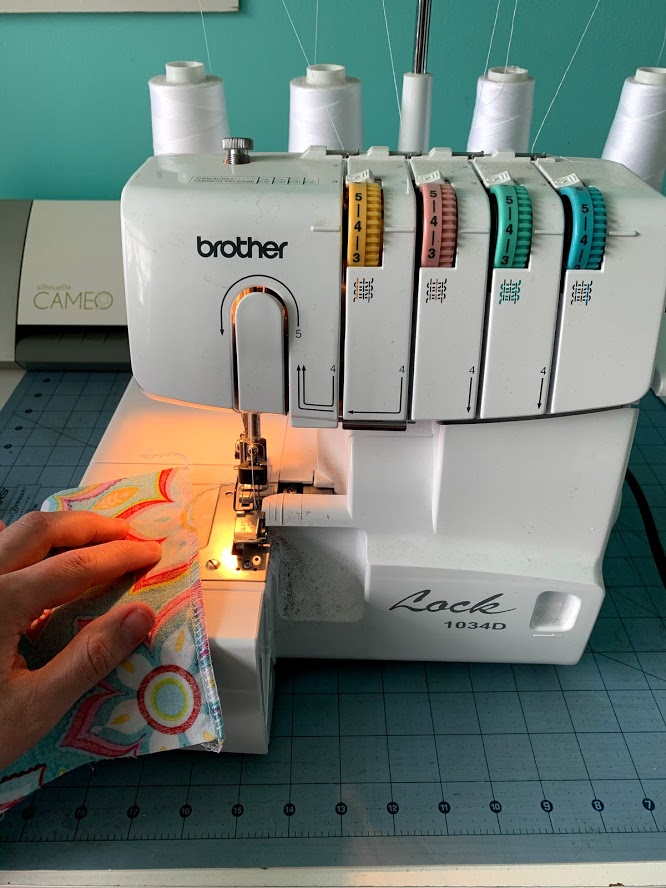
She did suggest something and I did it on mine. She suggested starting to sew further down the ties of the hat to reinforce the part that will be tugged on and used a lot. So I did this with my serger. Now in her video, she’s using a regular sewing machine, but since my serger doesn’t get a lot of use, I was excited to finally have a project to use it on.
Once you are done sewing around the edges of the cap to the bottom section of fabric, it’s time to finish the outside edges. Laying the cap down on the ironing board, I ironed 1/4″ inches around the top edge to fold it down for the straps to be sewn down.
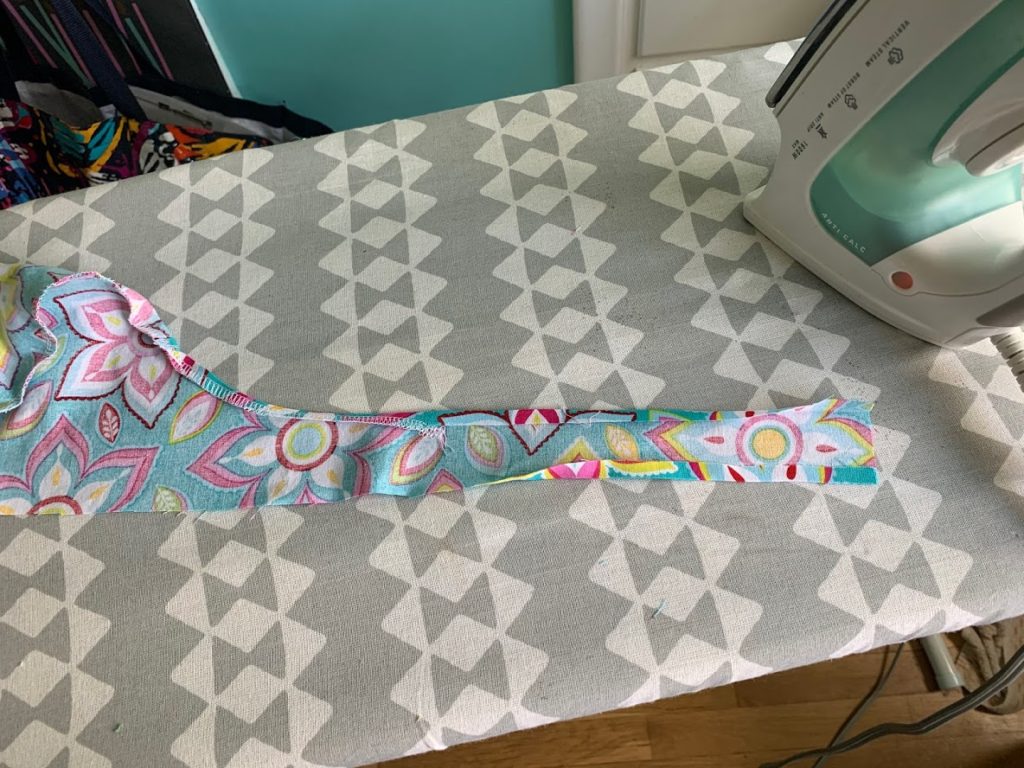
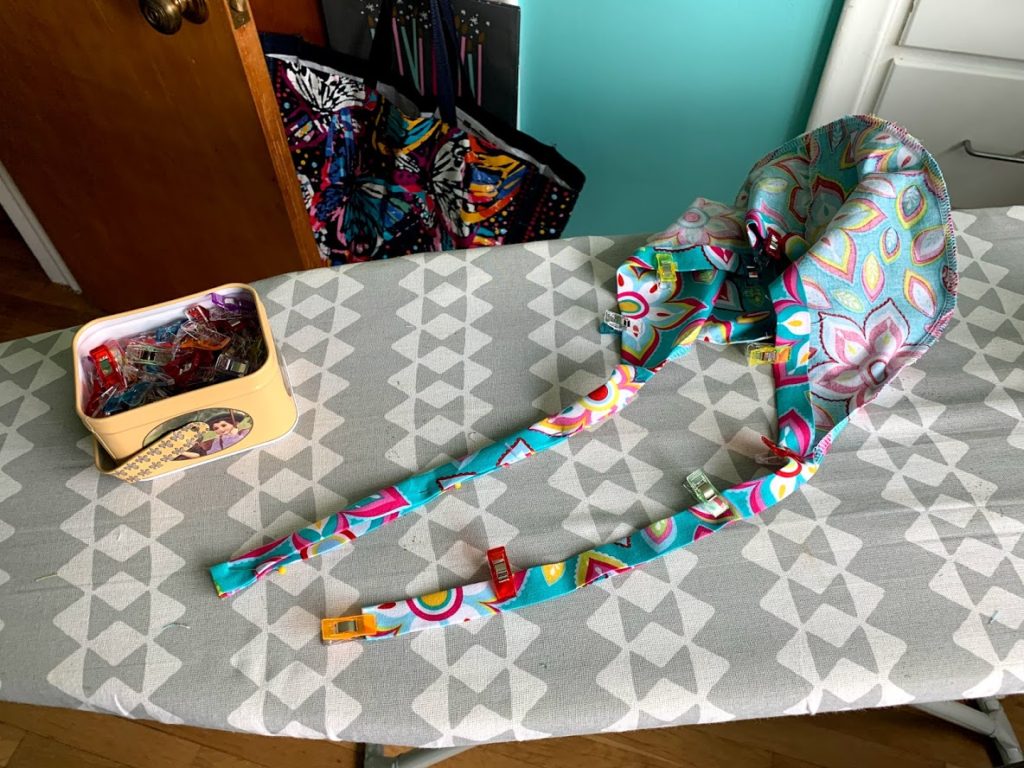
Iron all the way up to where the top of the cap is hooked to the bottom piece of fabric. Start folding the bottom of the fabric up too 1/4″ of an inch and iron that all the way around too. And then take the ends of the straps, fold it up and pin it in place.
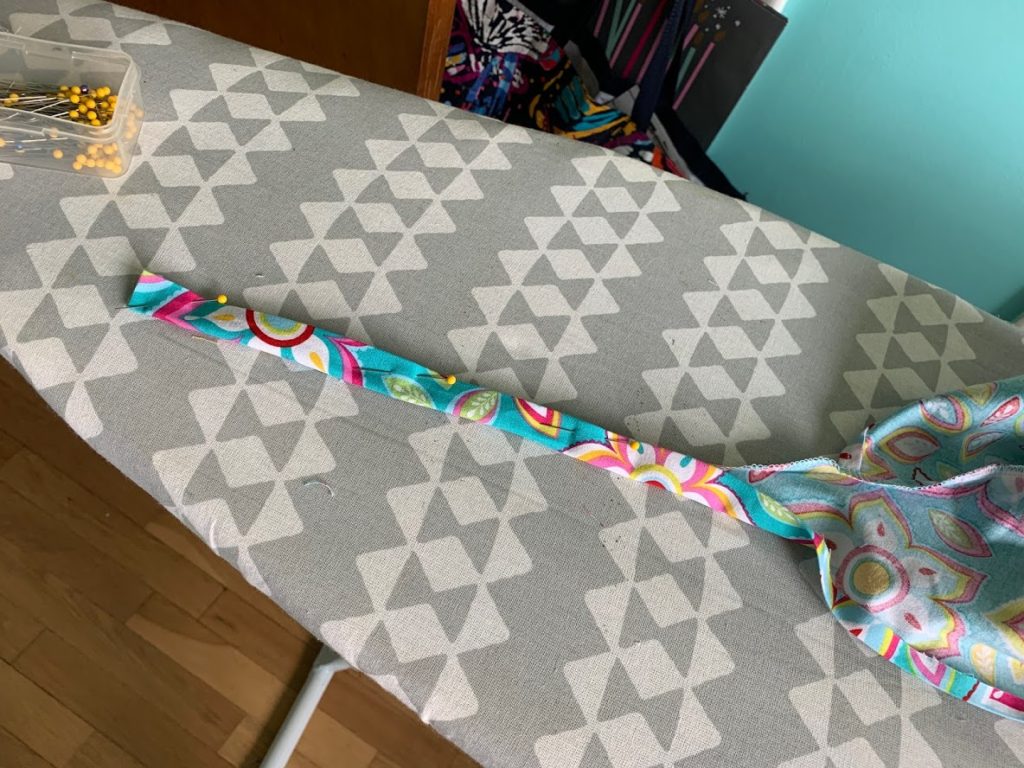
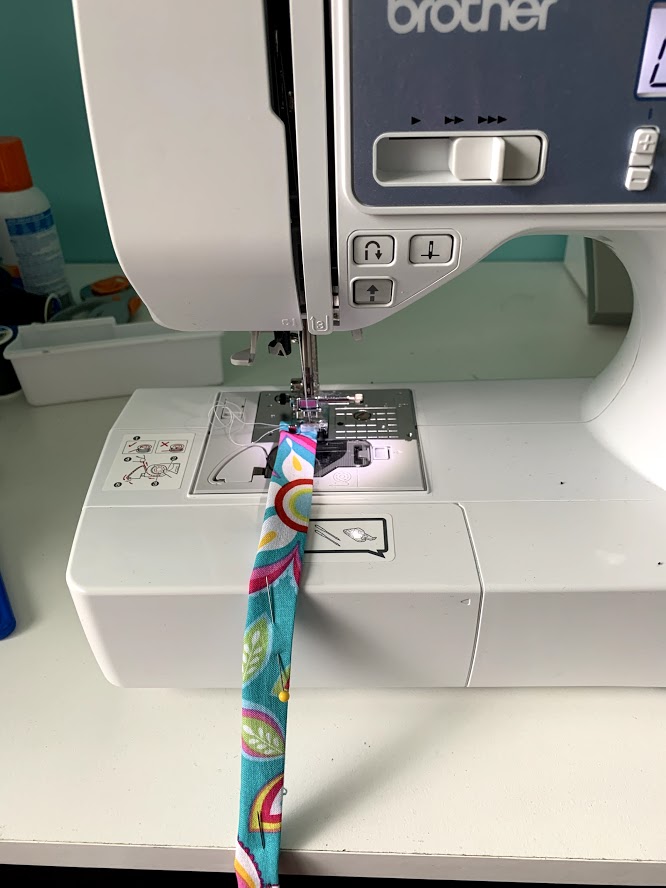
When both sides are pinned up, (I ended up using my new quilt clips) take it over to the sewing machine and start sewing along the edges about 1/4″ along the outside edge.
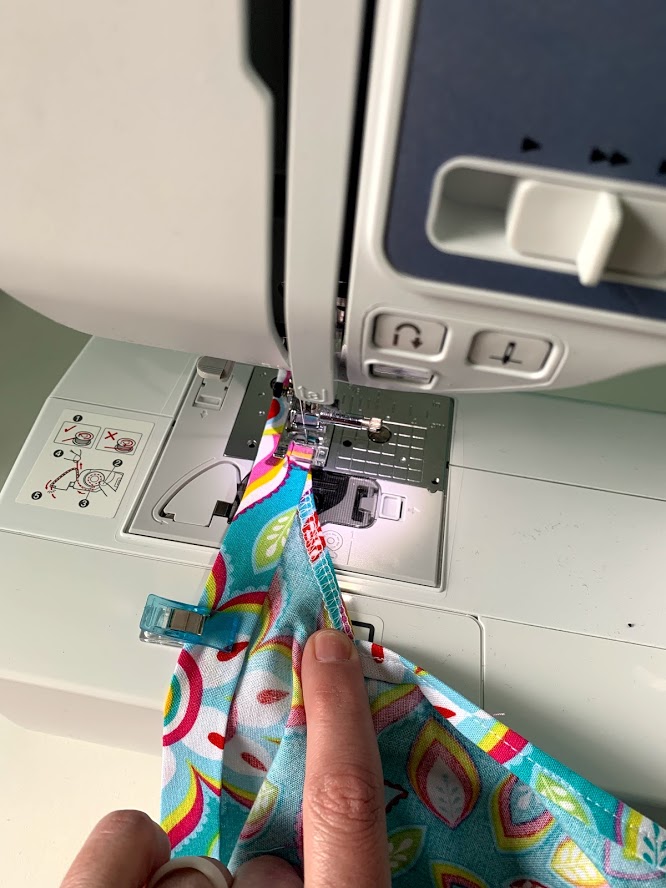
Start at one end of the ties and sew up until it attaches to the other piece of fabric.
At the point where it starts to connect to the top of the cap, she suggested that you sew up a little bit to flatten the edge of the cap and also make it more sturdy, since that’s the part that will be pulled on the most. So I sewed up there, then turned around and came back down and then went back to sewing the edge of the cap.
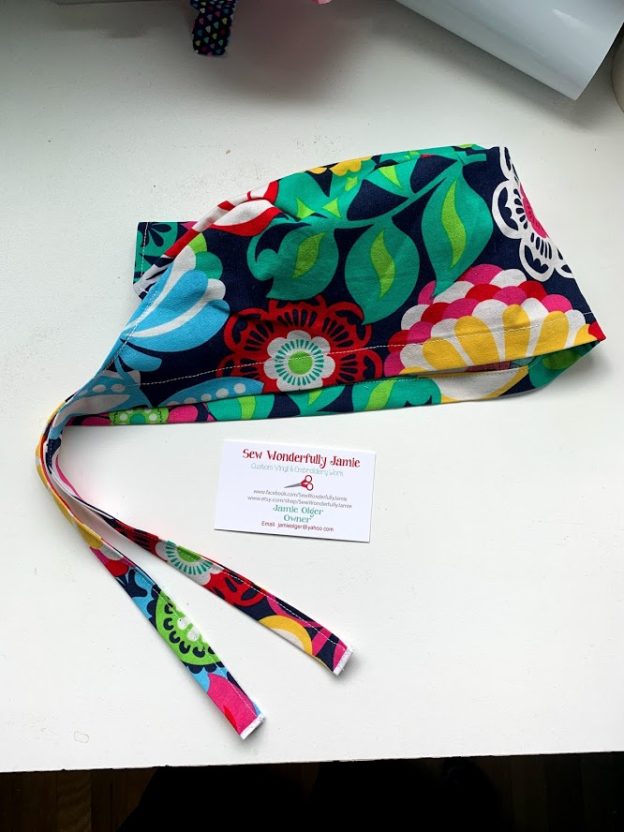
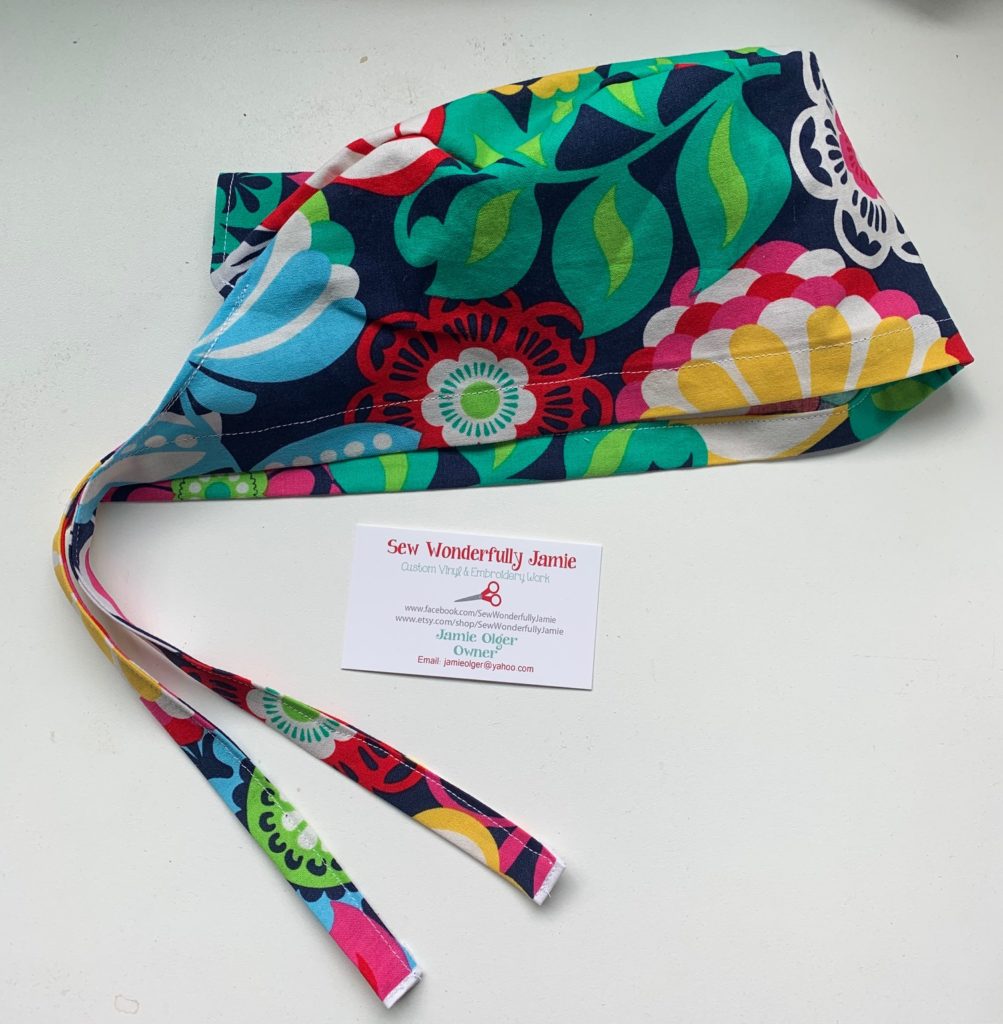
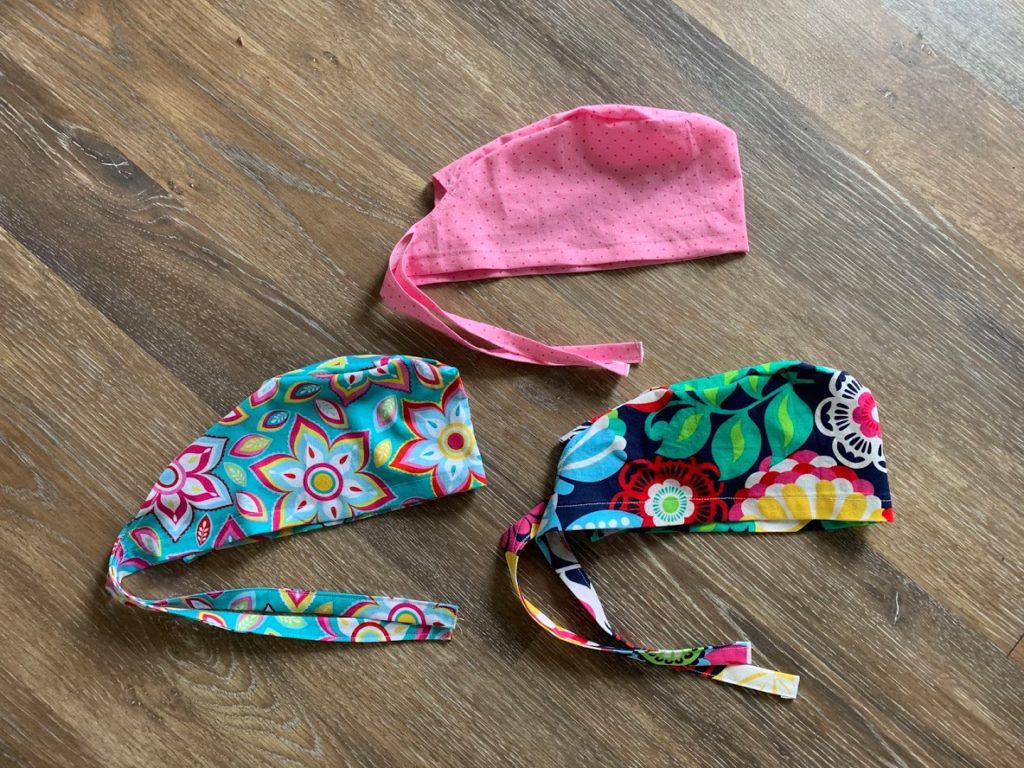
Then just keep on sewing until your finished! It really didn’t take me much time at all to finish the one cap once I realized how the pattern went. So the next 2 that I cut and the same time and finished fairly fast. They are already in the mail and ready to be worn!

If you’d like to me make you some surgical caps, just message me! I’d be happy to take your order! I might make a few more and add them to my Etsy shop too!


Tracy
in the photo were it said to cut the band part.. it says to put on fold? your picture is not on fold did you sew the 2 pieces together.. if my fabric scraps are small is this why you have like that?
jamieolger@yahoo.com
Yes I sewed 2 pieces together so I could use up some scrap fabric I had. I just cut it about a 1/4” bigger so when I sewed it together it matched up still. Worked out great and was an easy way to use up scraps.
Veronica
I made this mask for a nurse, she wanted to know if I could make it so it can cover her hair in the back.
Any ideas? Thank you.
Elvera McCabe
I can’t download your pattern, can you just email it to me? you surgical cap pattern
jamieolger@yahoo.com
https://drive.google.com/file/d/191C98V9kU8gUcggJazTV8bsie8JQgV8S/view
Nicole
Does this go over your ears? Can you show us a profile and front view of how it looks on?
Maria
How to get a pattern of that cap for nurses
Gina Brewer
I would love to have the pattern. I’d be happy to make some for our local hospital.
jamieolger@yahoo.com
https://drive.google.com/file/d/191C98V9kU8gUcggJazTV8bsie8JQgV8S/view
gina
can you show what the inside of the cap looks like please? i am a beginner and not sure if what i am looking at is right.
thanks
Gina
jamieolger@yahoo.com
https://drive.google.com/file/d/191C98V9kU8gUcggJazTV8bsie8JQgV8S/view
gina m b
can you show what the inside of the cap looks like please? i am a beginner and not sure if what i am looking at is right.
thanks
Gina
Fran
Hi what are the measurements for the surgical hat?
Allison
Cute cap! I’m going to make some up for friends. Also love the fabrics. Would love to know where you purchased those. Thank you in advance!