
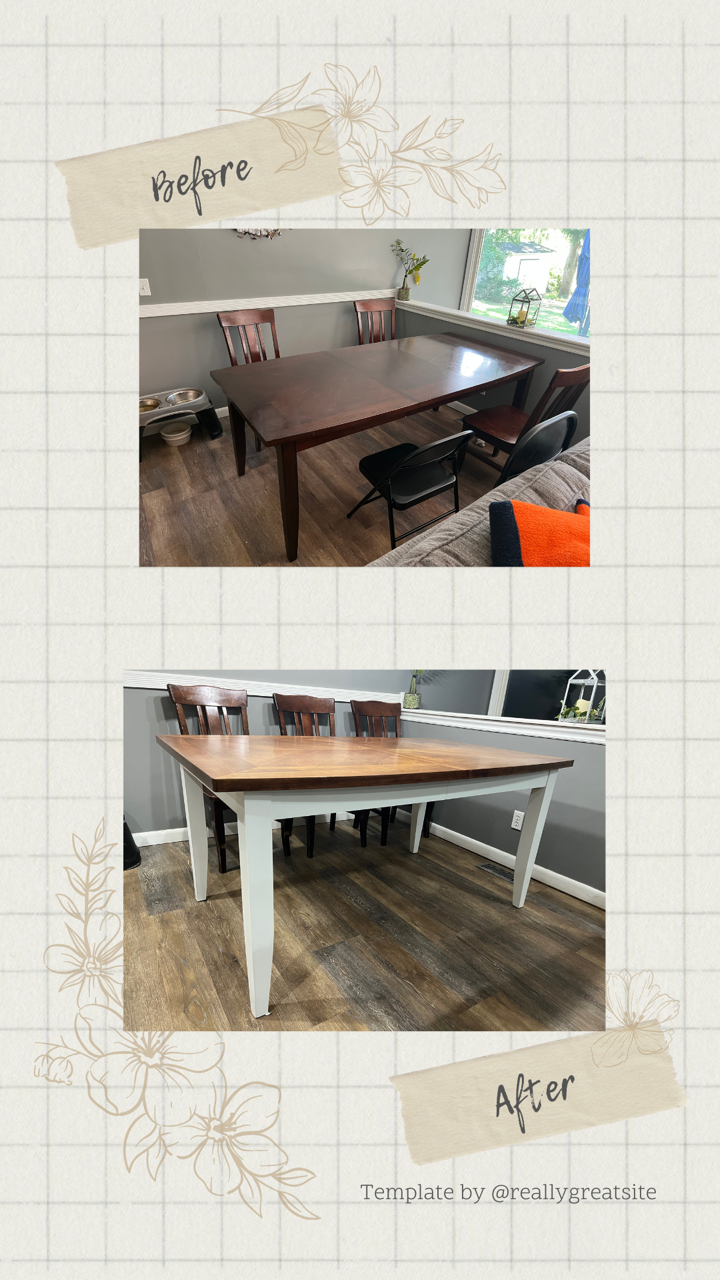
We have needed to get a new dining room table set for awhile. Mostly it’s the chairs that have taken a beating but the table top was pretty scratched too. I had found a set I wanted to buy but the price was making me not want to purchase it. My mom suggested that I just redo the table we have and get new chairs. And after finally thinking about it long enough, I decided to tackle it this week.
LIST OF ITEMS NEEDED:
- Table or item to redo
- Sandpaper ( I used 80, 120 and 220 grit sandpaper) https://amzn.to/3pvatpp
- Orbital Sander- https://amzn.to/3K7zYqj
- Wood Stain- Early American https://amzn.to/3QNTOJu
- Chalk Paint – I used Waverly brand https://amzn.to/3dHC302
- Polyacrylic- I used Satin Gloss https://amzn.to/3wi0tn7
- Paint Brushes
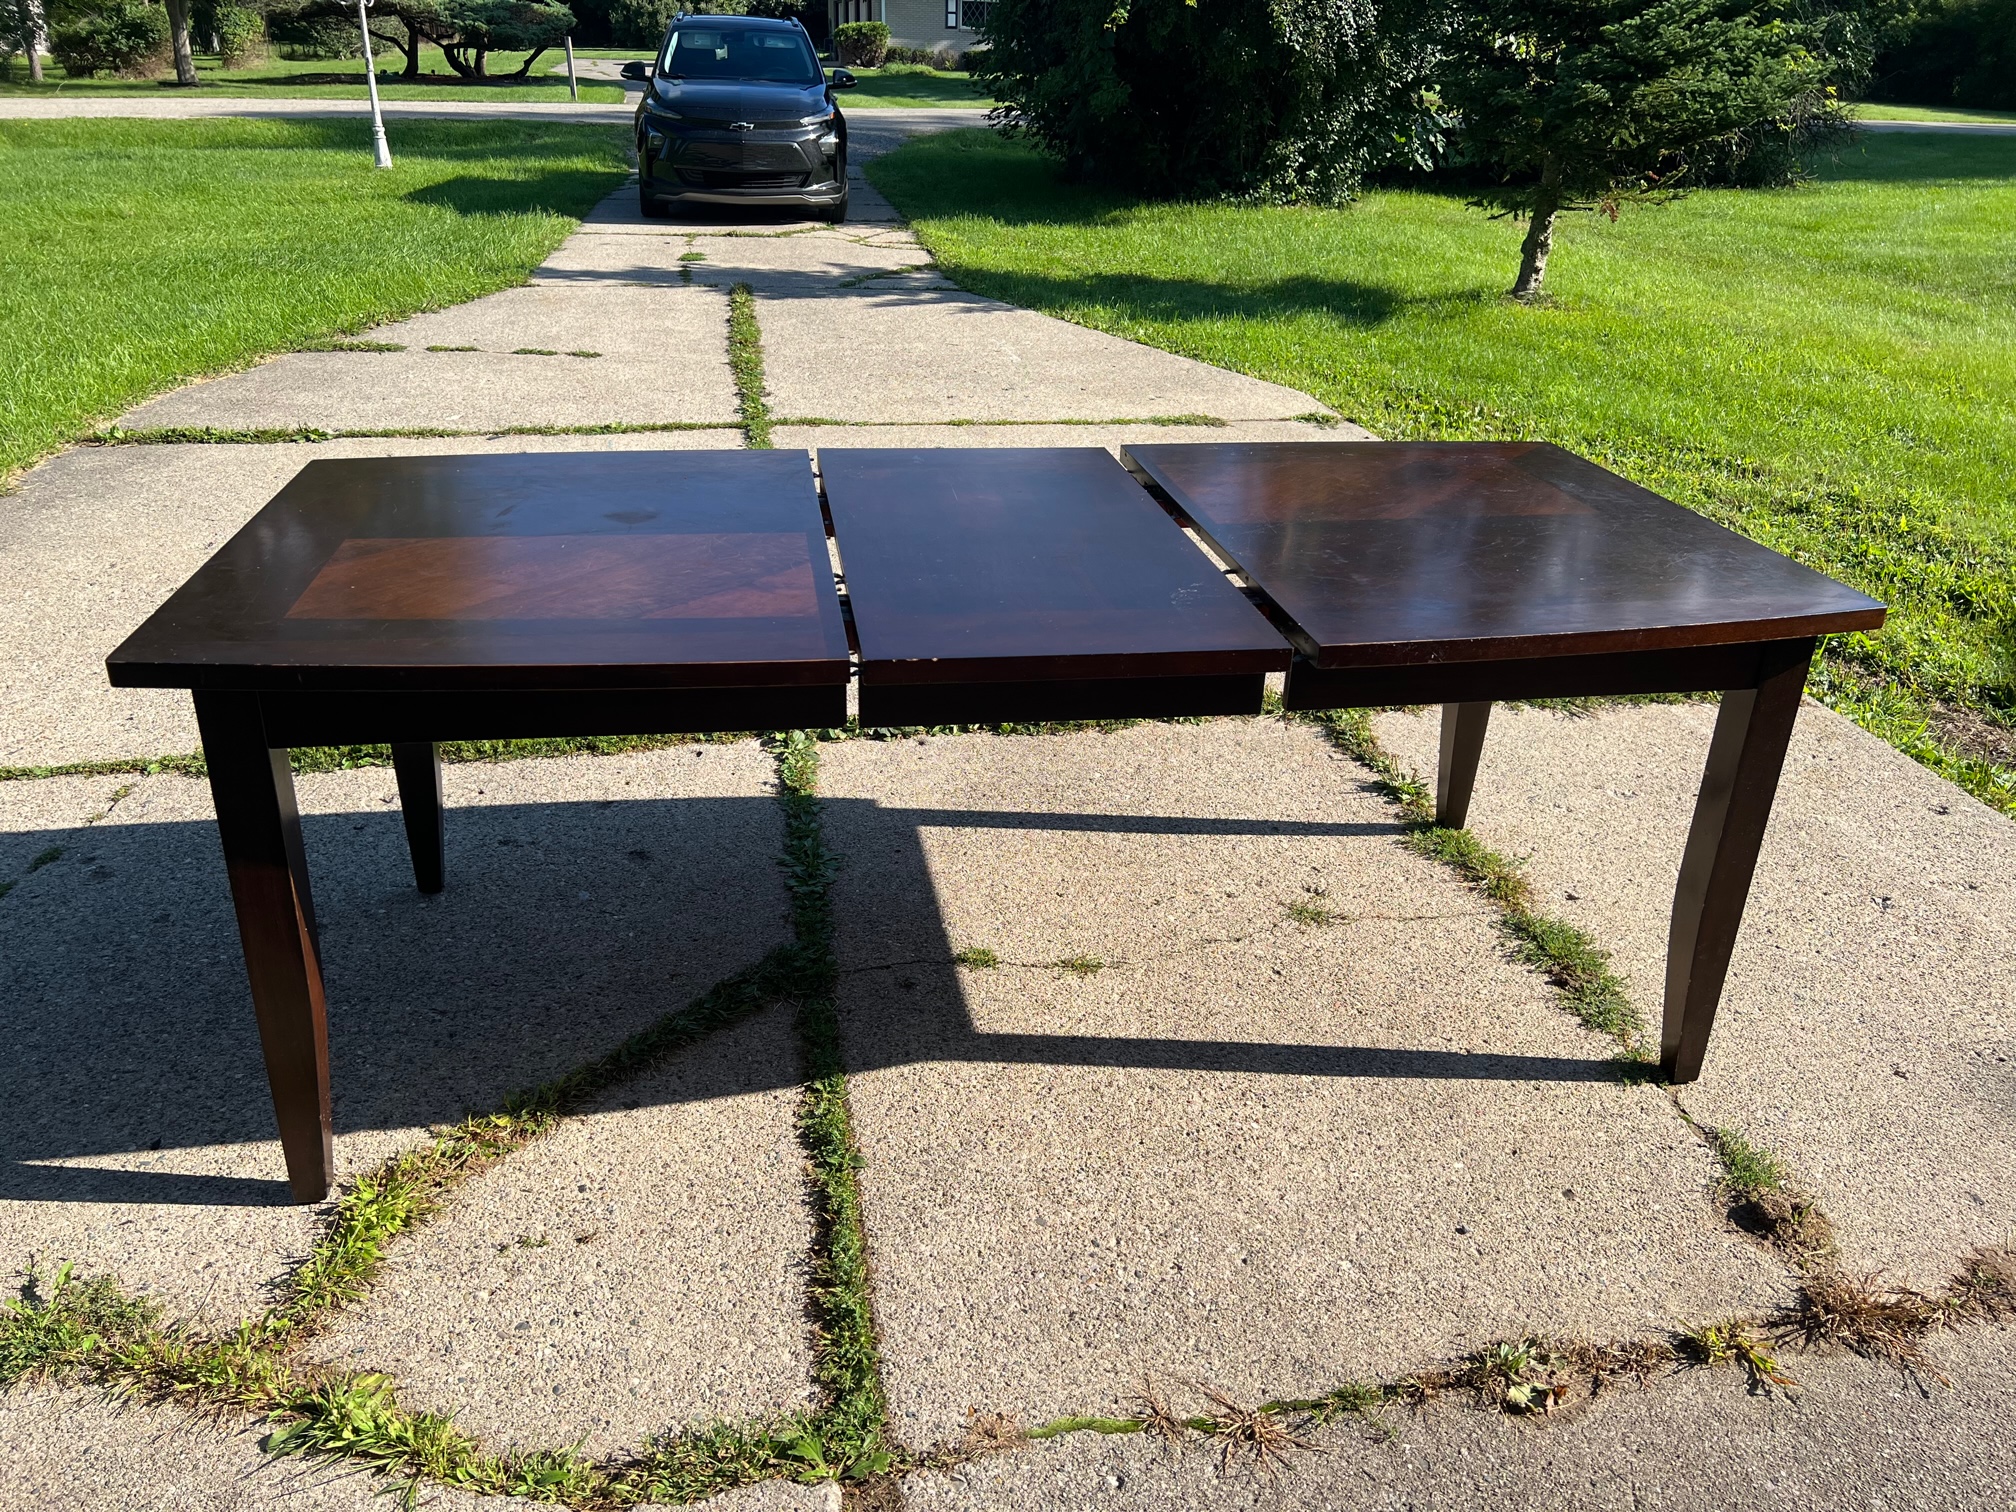
We hauled the table out to the garage first so I could redo it. I knew that sanding in the house would be a huge mess! Once we had the table outside in the garage, I pulled it out into the driveway to actually sand it. We have a cordless Ryboi orbital sander and I went through like 4 batteries with it. Thank goodness we have multiple batteries and a faster charger! Sanding took a lot of work to break through that first layer of lacquer. That shiny crap didn’t want to come off!! Obviously this isn’t a real wood table but eventually after enough sanding, I got to the wood!
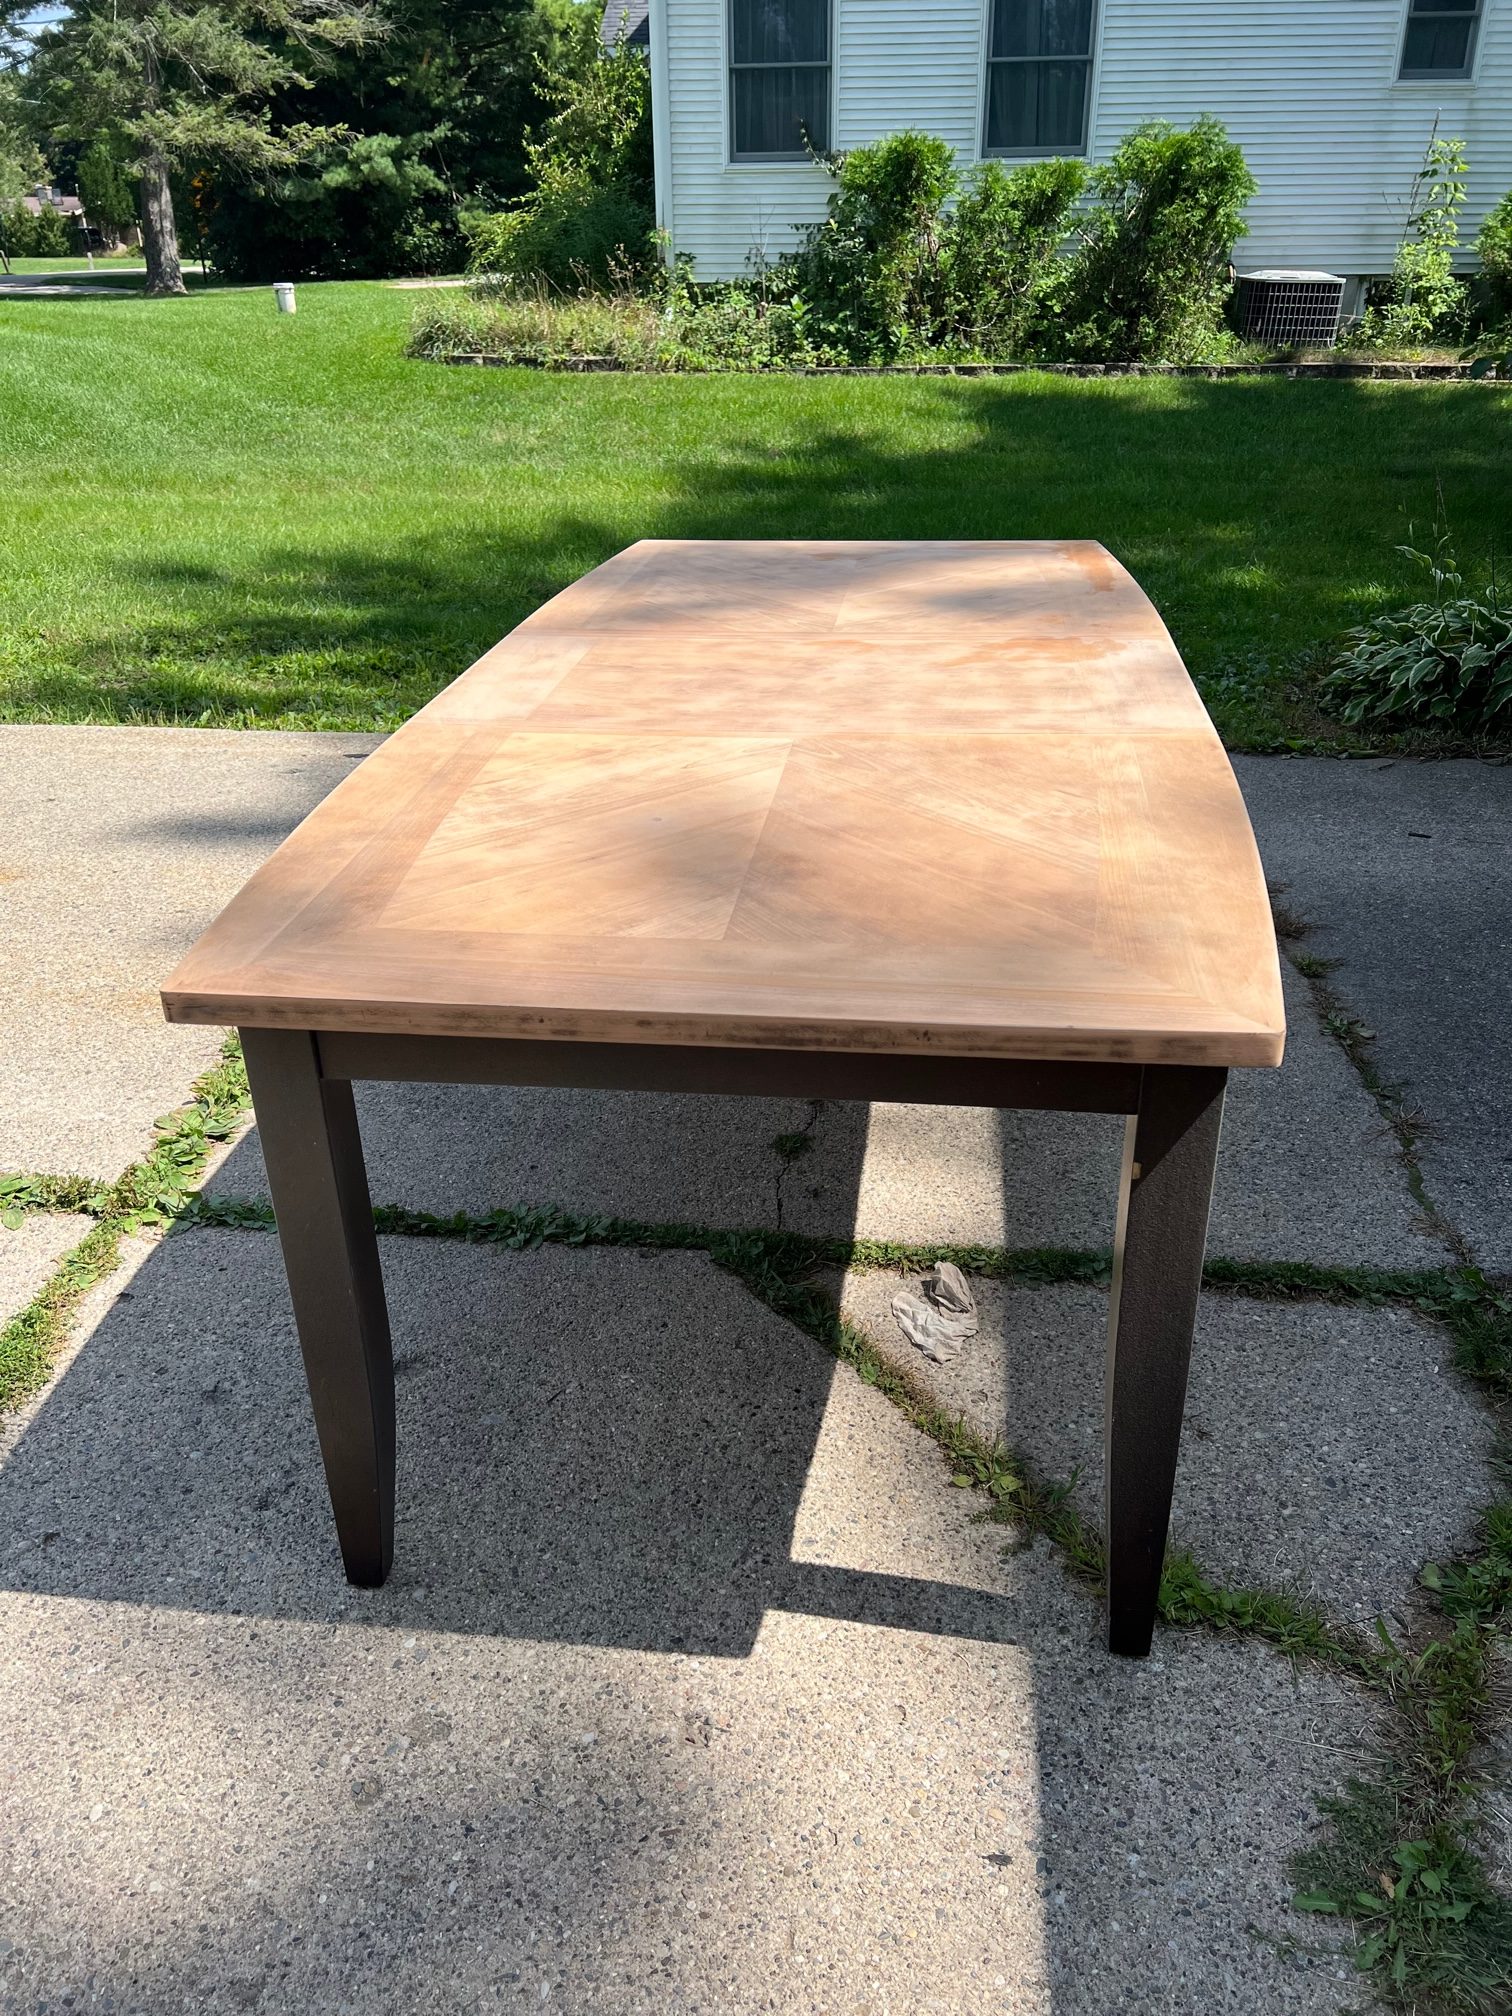
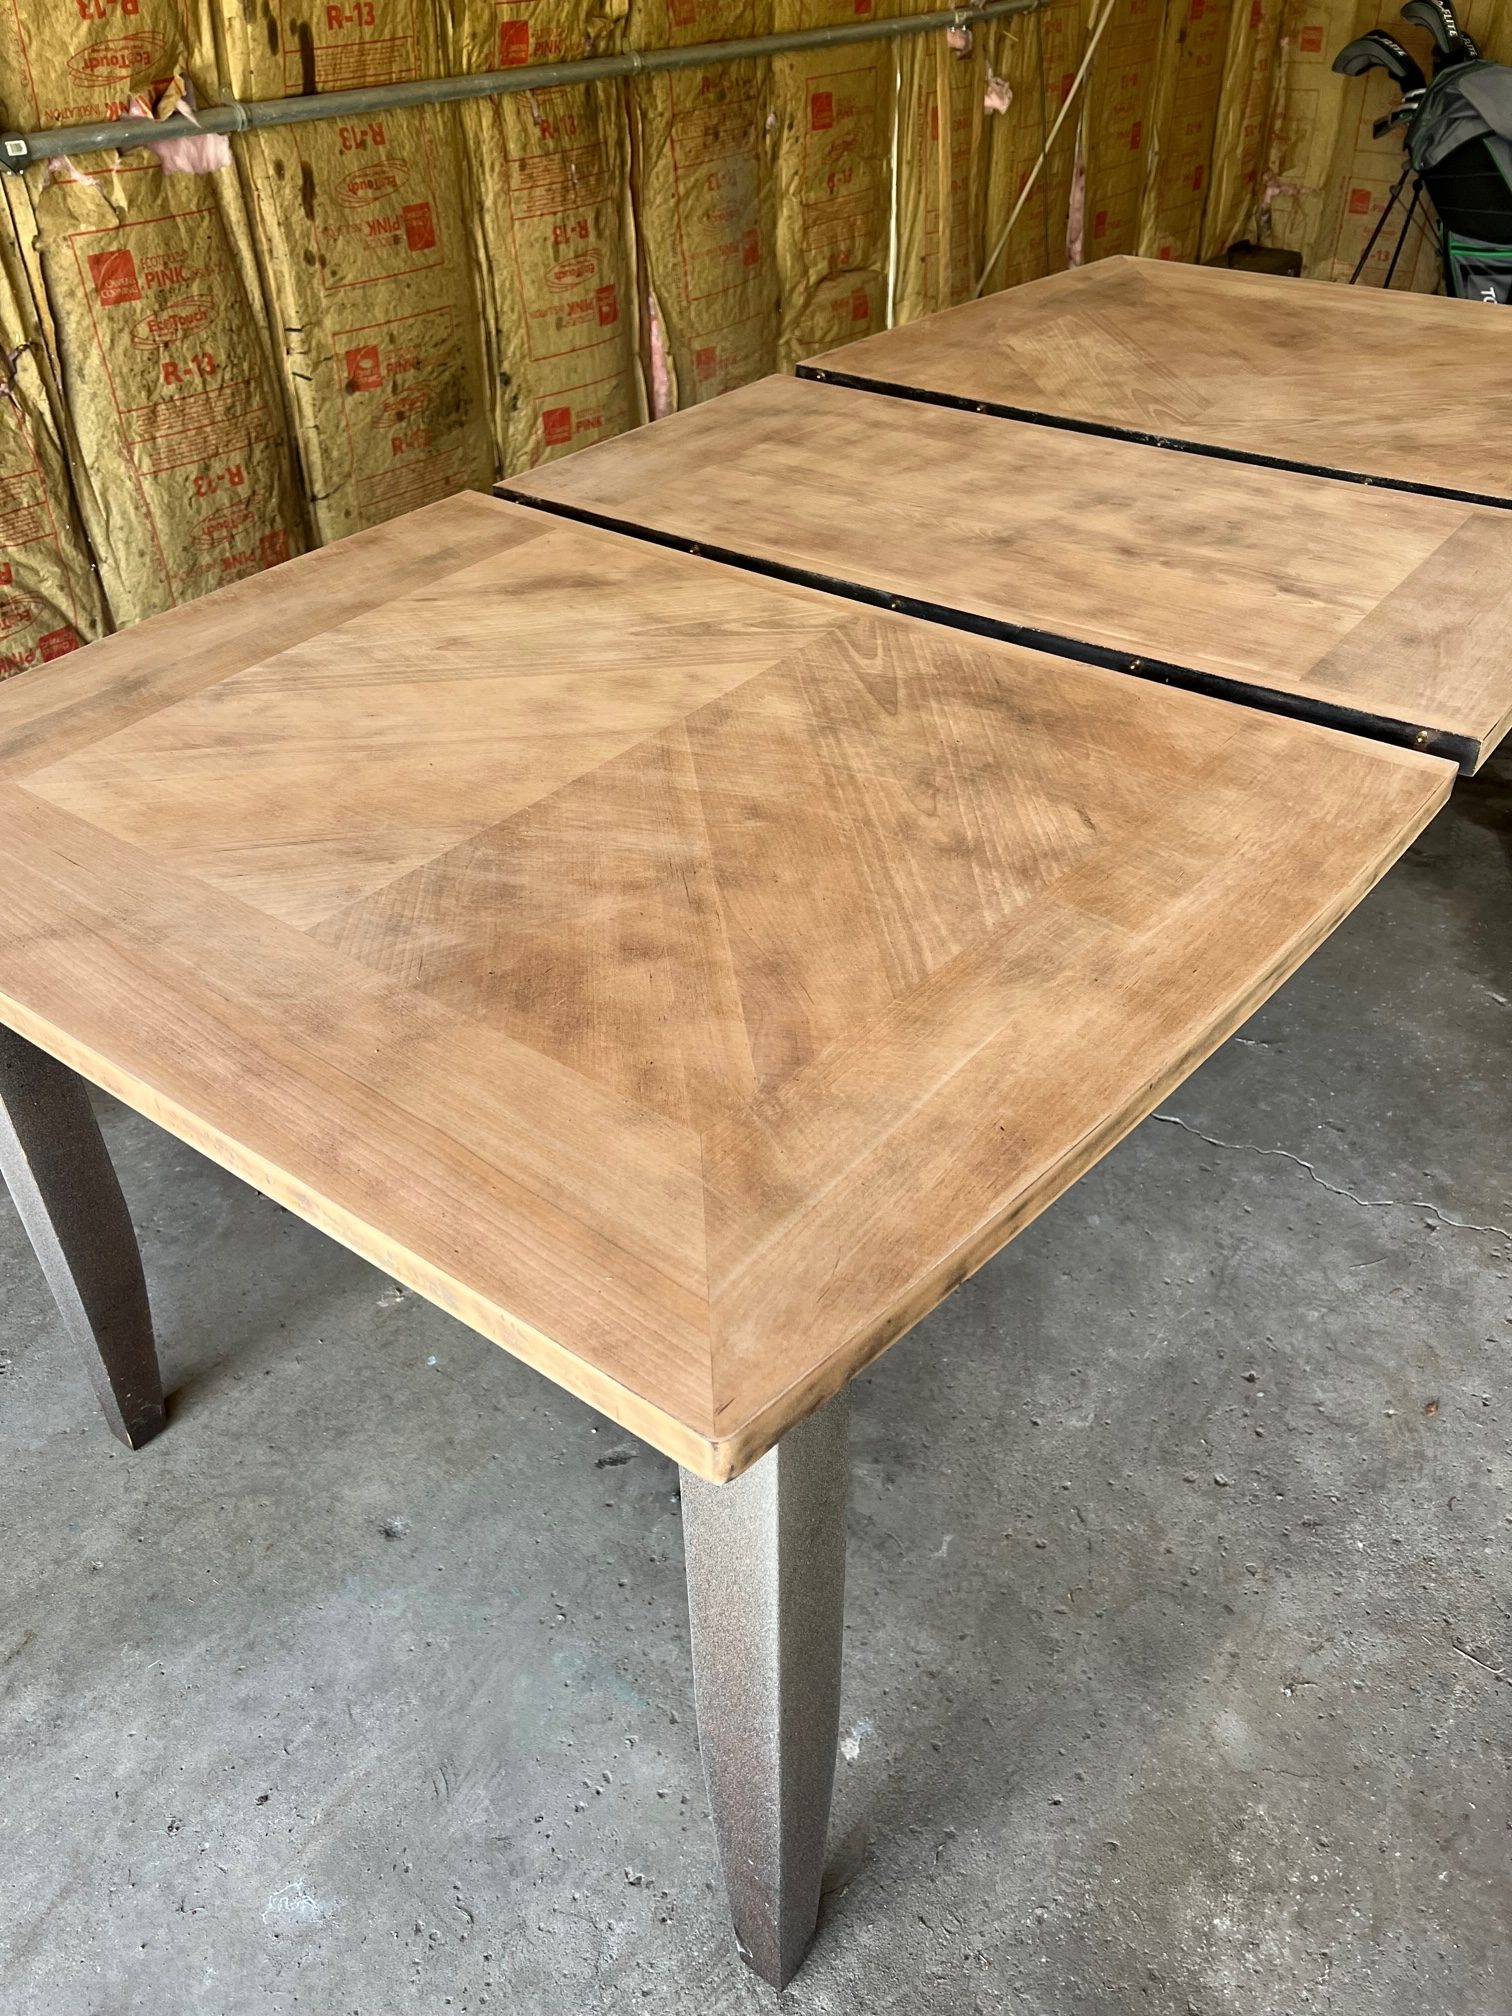
Once it was sanded off enough, I went over with a finer grade sandpaper and got it smooth again. I wiped it all down with a wet cloth to get all the extra dust off the table and we carried it back into the garage.
I picked a stain out of the stains we already had at home. I used Early American by Minwax. It is a bit more red tinted than I’d like but I think that’s just the wood. I did just a single coat of stain because I didn’t want it too dark again. I let the stain sit overnight before I did anything to the top again.
But while the top was drying, I started painting the bottom portion of the table with Waverly White Chalk Paint. Chalk paint is very forgiving and easy to use so I’m glad I chose this. You paint multiple thin coats and cover it with a clear coat and it will hold up for years. I did one coat of white paint all around and let it dry. In the end I did 2 coats of chalk paint around the bottom and then I let it sit overnight.

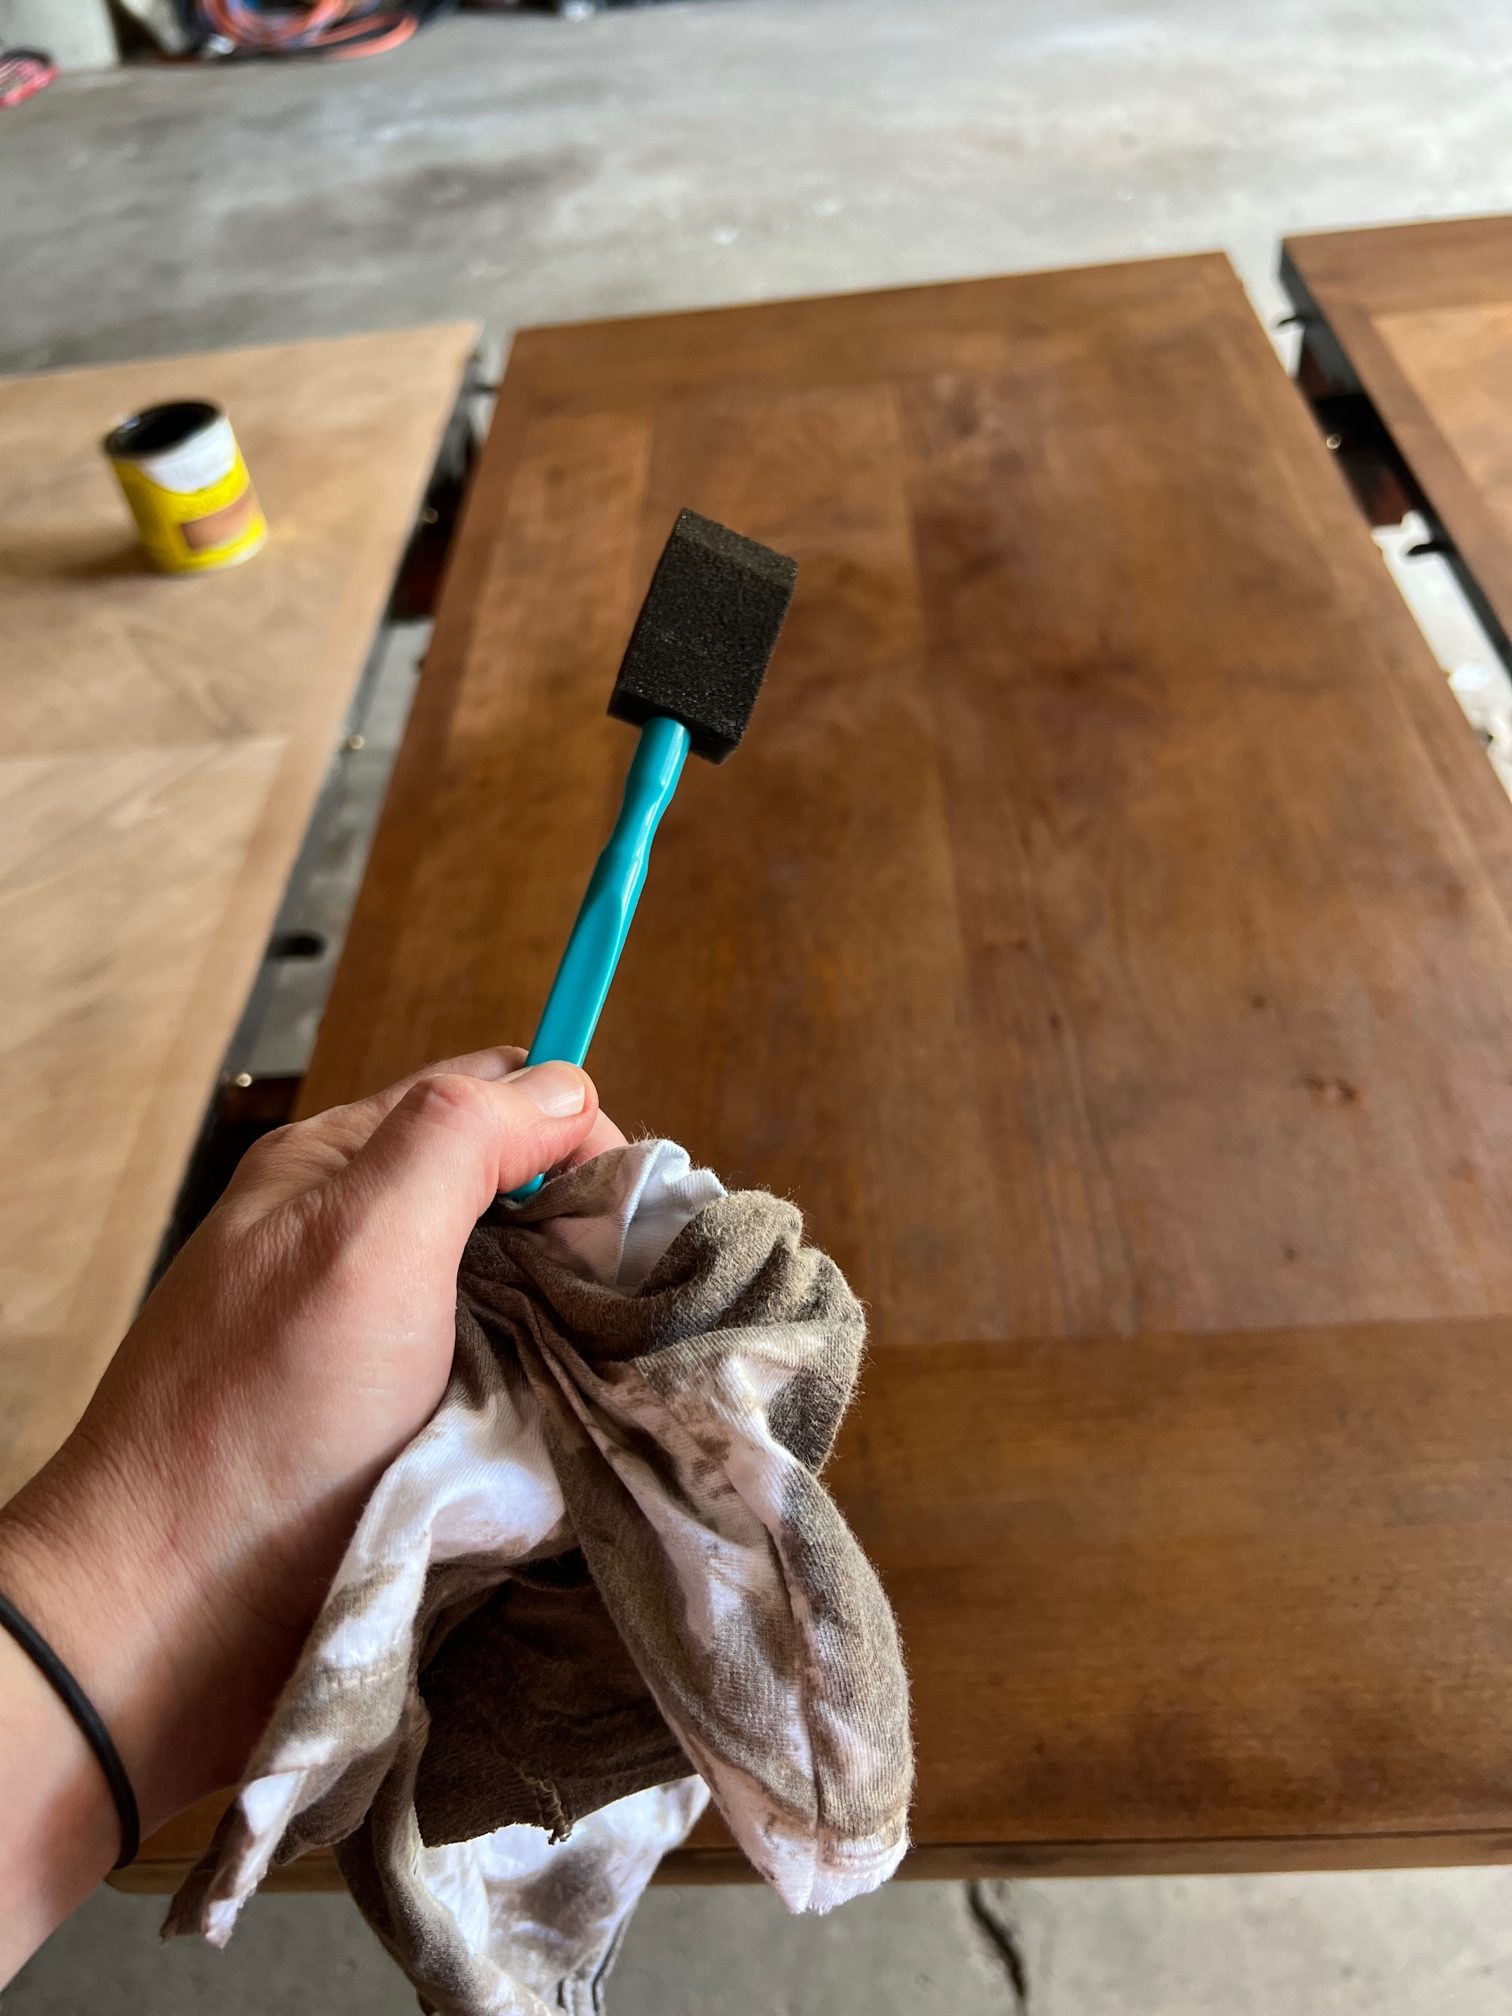
The next morning I got up and put a clear coat of Polyacrylic over the whole table. I chose the Satin finish so it has some gloss to it, but not over the top. In the end, I put 2 coats over whole bottom of the table that was white and then I put 4 coats on the top stained portion of the table. I wanted to be sure it doesn’t get messed up that easy! Thankfully everyone is a bit older so hopefully it holds up for years to come!

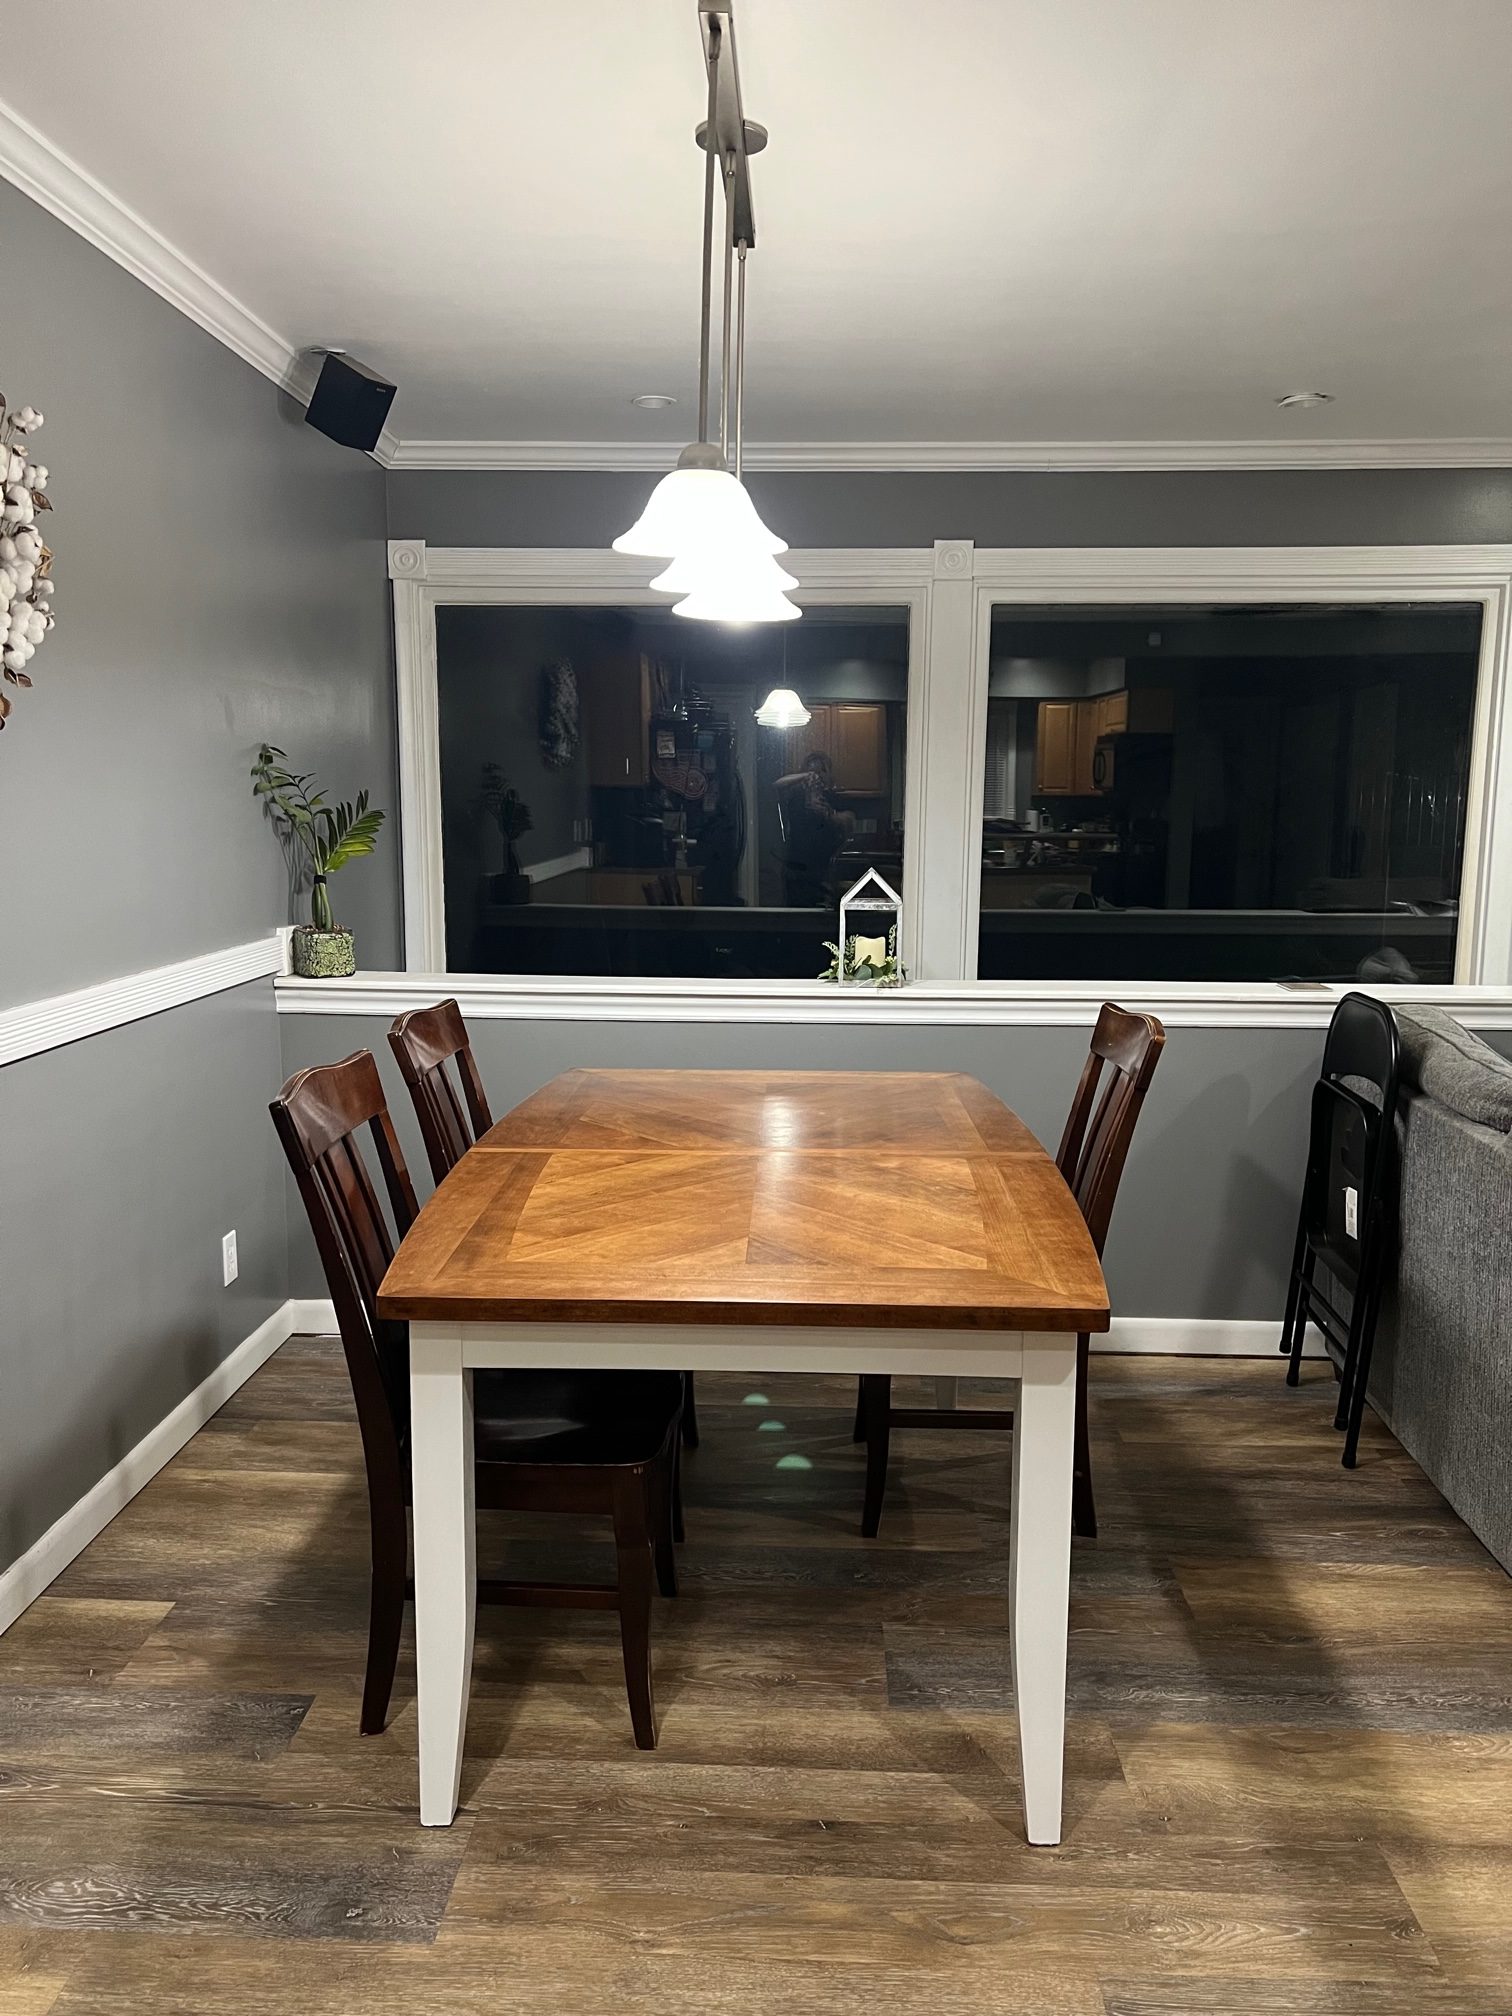
We carried the table in last night, and it looks great! I’m excited to order some new chairs to go with it. I think I’m going to order these metal style chairs to go with it. The ones we have now can go in the fire- HA!
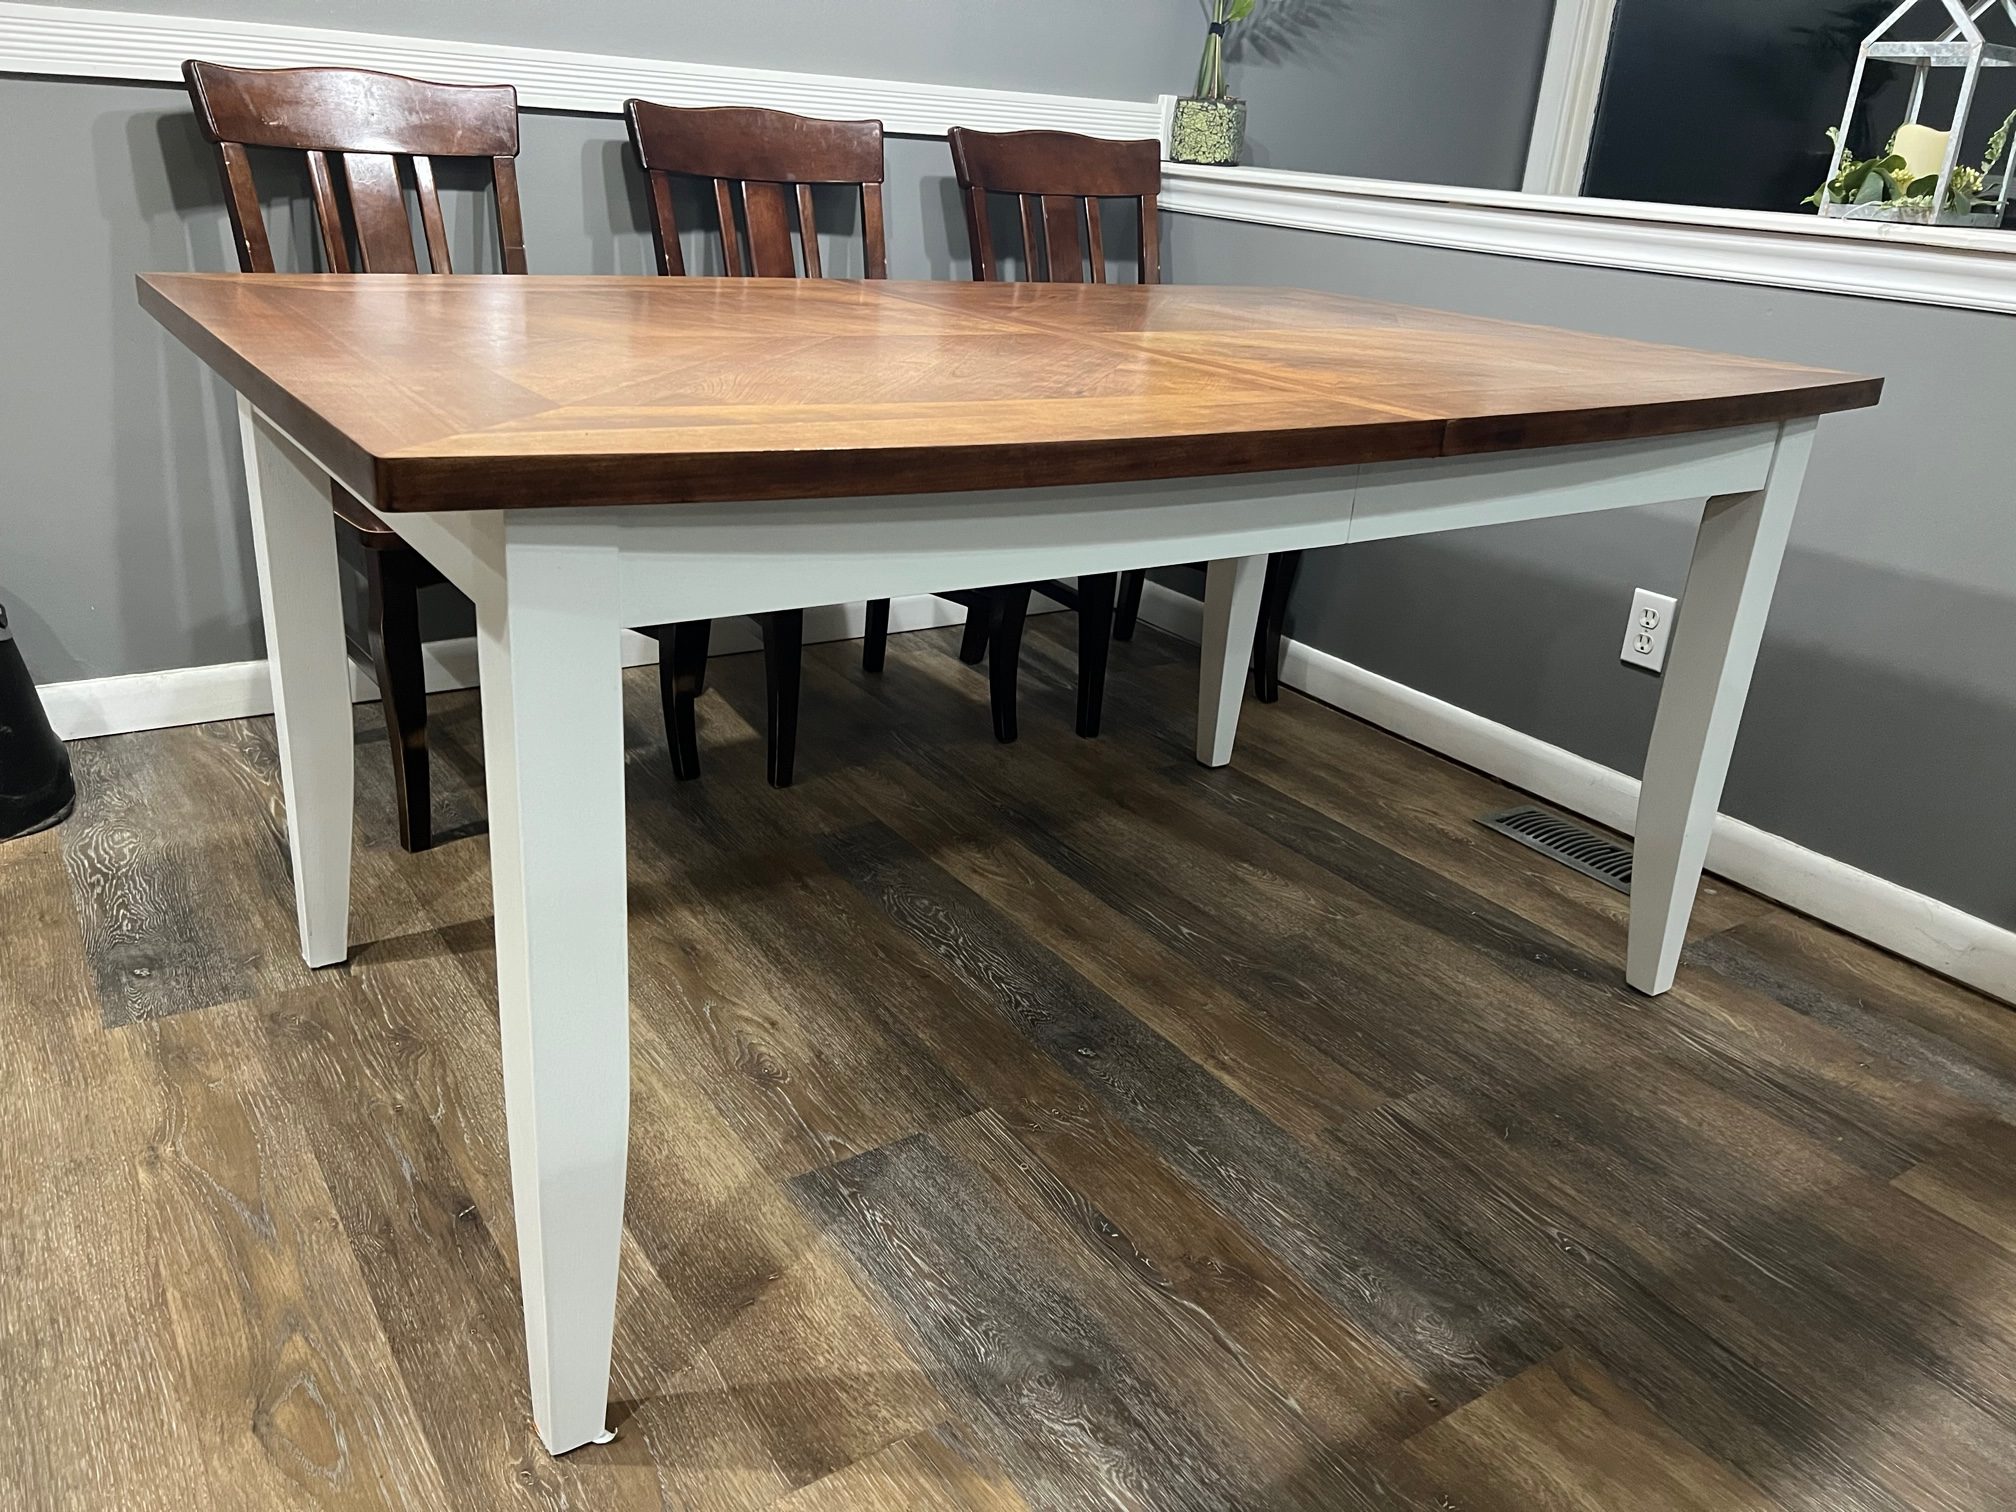
In the end, I’m so glad I finally pushed myself to conquer doing this table. It looks so much better and we will still be able to use it for years to come. The table was originally purchased YEARS ago from Art Van Furniture. It is a solid piece and I loved that it had the leaf to use during parties and holidays.
This whole thing cost less than $75 to do and if you have time, it doesn’t actually take that long to do it either. I redid ours in 2 days!
Julia Shutt
The table really looks beautiful, Jamie! I’m inspired!
jamieolger@yahoo.com
Thank you!! It took me awhile to get the guts to actually do it, but I love it! And it really wasn’t that hard.